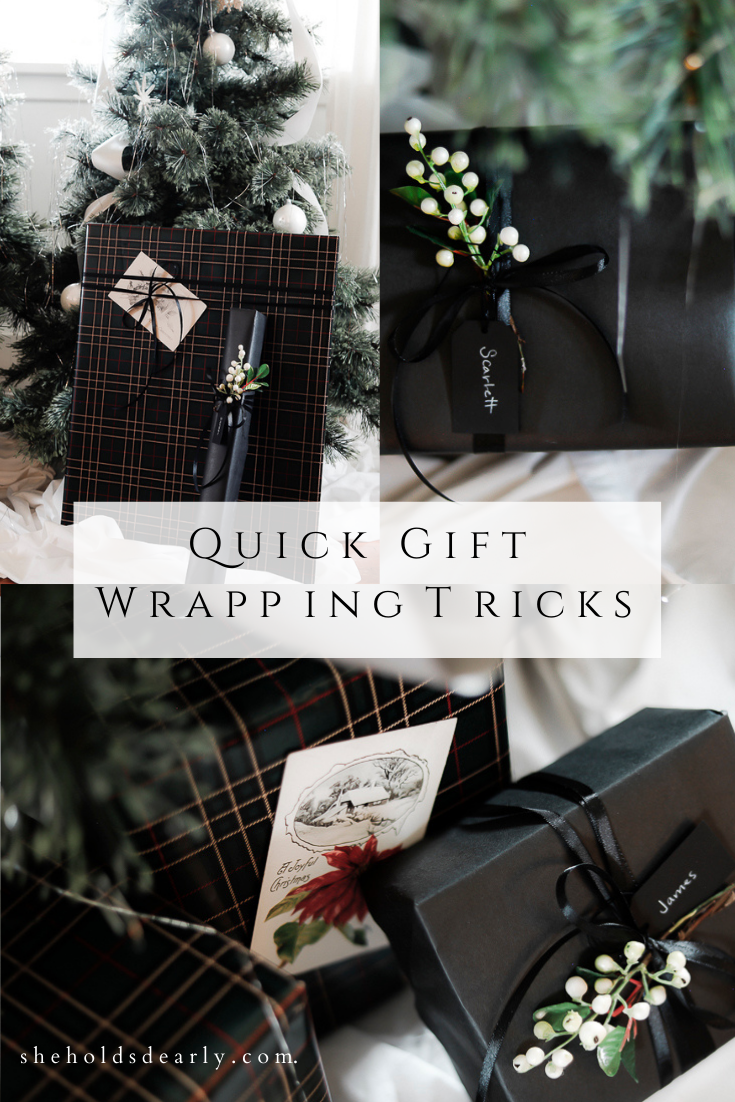
Quick Gift Wrapping Tricks
Getting in some last minute gift wrapping this week ahead of Christmas? Let me help you with some tricks to make your gifts look professionally done!
I think most people like either shopping for gifts, or wrapping gifts, not usually both!
If wrapping gifts isn’t your favorite part, I’m here to share a few of my tricks to help elevate the look of your gifts to make the end result worth the time it takes to wrap them!
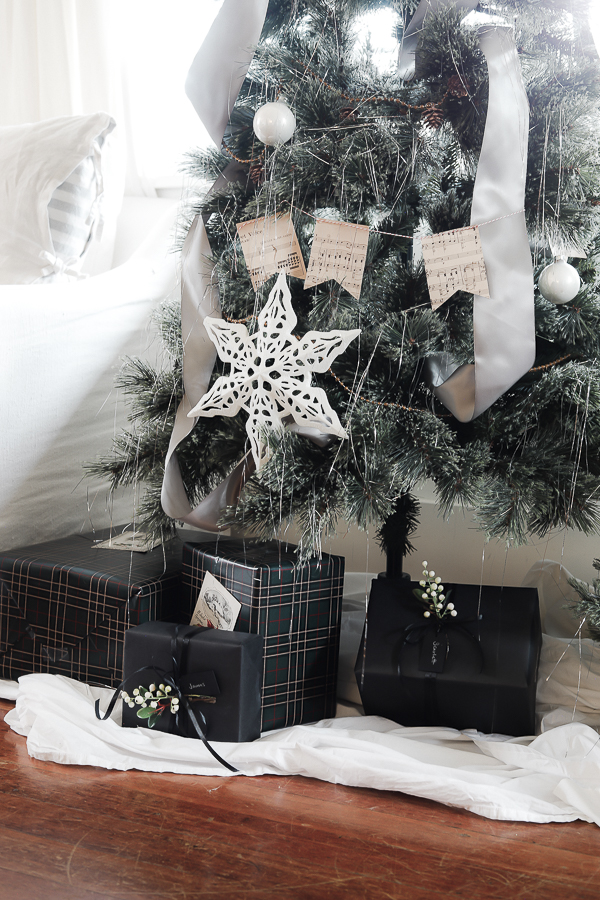
I think a nicely wrapped pile of presents can serve as a piece of your Christmas decor right along side your tree! It’s more bang for your buck, (the presents are going to be there anyway) and I’m always a fan of something with a dual use.
I’m not going to spend time on this post sharing about the basic process of gift wrapping, because I think there are SO many good resources out there for the actual wrapping process.
(You can watch me in action in the video below to see some of the more basic wrapping techniques, but if you need additional help, Pinterest is a great place to go if you’re looking for some basic wrapping tutorials!)
I’m going to focus more on the aspects that I think help take a “nicely wrapped” gift into the “beautifully wrapped” gift category.
How I Select My Wrapping Paper:
I think one of the most important aspects that you can shoot for when wanting a more styled gift pile is to choose your paper wisely!
I like to stick with the following types:
- Solids
- Subtle Florals or things in the nature family (like pinecones, as one example)
- Stripes, Plaid or polka dots (things in the geometric family)
And for each year, I pick only two coordinating papers from that list!
It’s amazing how much even just that one single trick makes a big difference.
The best way I’ve found to make this work is to get my family in on the idea as well. If these are the two papers readily available when they’re ready to wrap – it helps keep everything cohesive as a final look under the tree!
My Formula for Dressing up my Gifts:
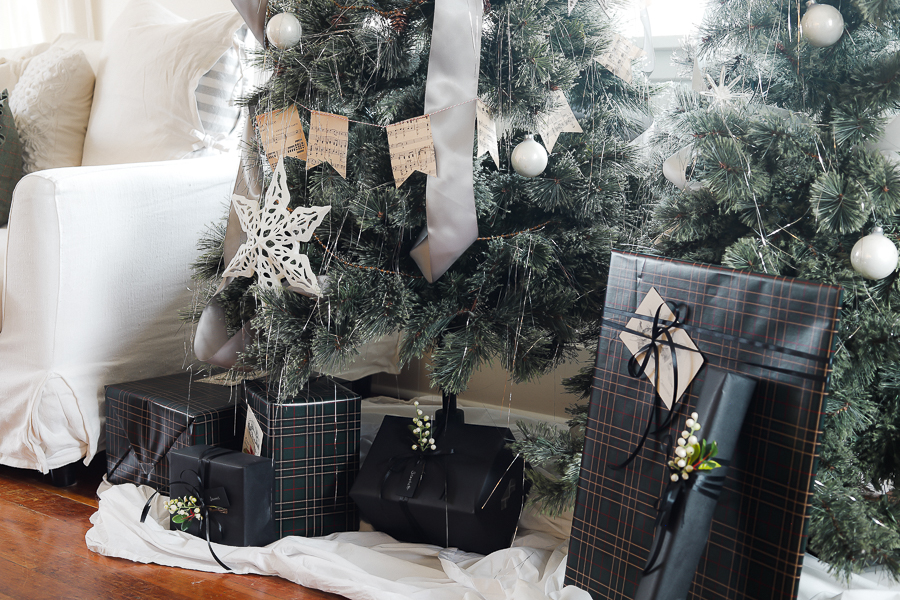
Once I have my paper chosen, I usually like to add the following extras:
- Coordinating Ribbon
- Faux floral sprig
- Cute name tag
The specifics relating to colors and exact style vary, but knowing that I’ll usually use those three things in addition to my paper is really helpful.
I’ll also add an note that these ideas do work for wrapping any present, not just Christmas presents! I change up the variables depending on the season or occasion, (like changing to a pastel floral for a spring birthday or a baby shower, or leaves for a Fall birthday) but the basic thought process is always the same!
My motto with wrapping is:
Keeping it Simple Keeps it Sophisticated.
– Me, 2020
*This post contains affiliate links to products I know &/or love.
My Gift Wrapping Process for This Year:
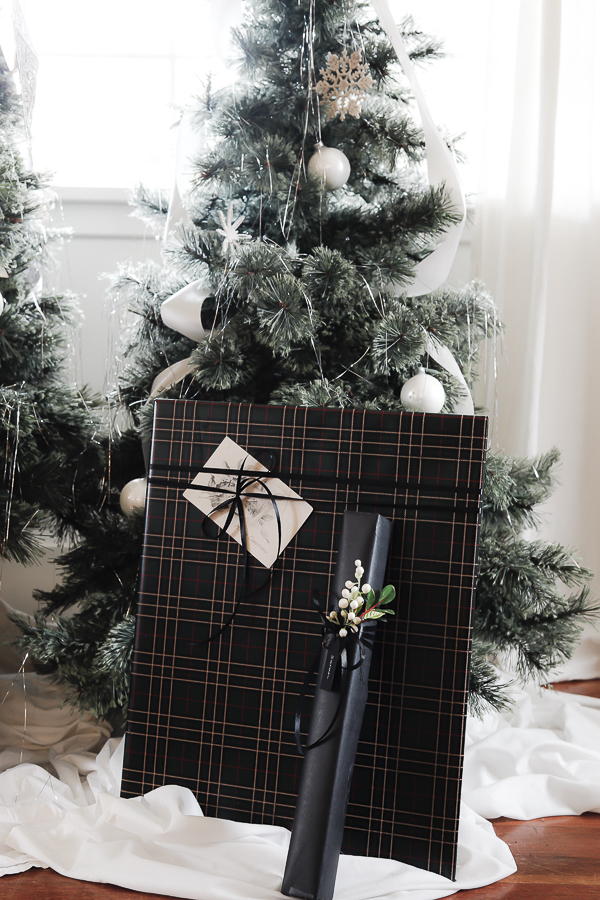
For my papers this year, I chose a black solid butcher paper, and a really cute green, red and gold plaid.
I was a little nervous about them being a bit too dark, so I added a few elements to lighten them up a bit, but I’ll talk more about that below!
The other supplies I needed:
- Scissors
- Thin Black Ribbon
- White Berries
- Wire Cutters
- Black Tags
- Vintage Postcards
- Gorilla Glue Gun
- White Pencil
- Tape, Double stick tape, or glue dots
And Here’s What I Did With Those Supplies:
Because I knew ahead of time that I would be using just these two rolls of paper, I purposefully planned to wrap my smaller gifts in the black butcher paper because the standard roll length is about half as long as a regular roll of wrapping paper.
That way I didn’t get to the end of the process and have a large stack of only black gifts, and I also didn’t have to worry as much about waste, or running out of paper around a larger object.
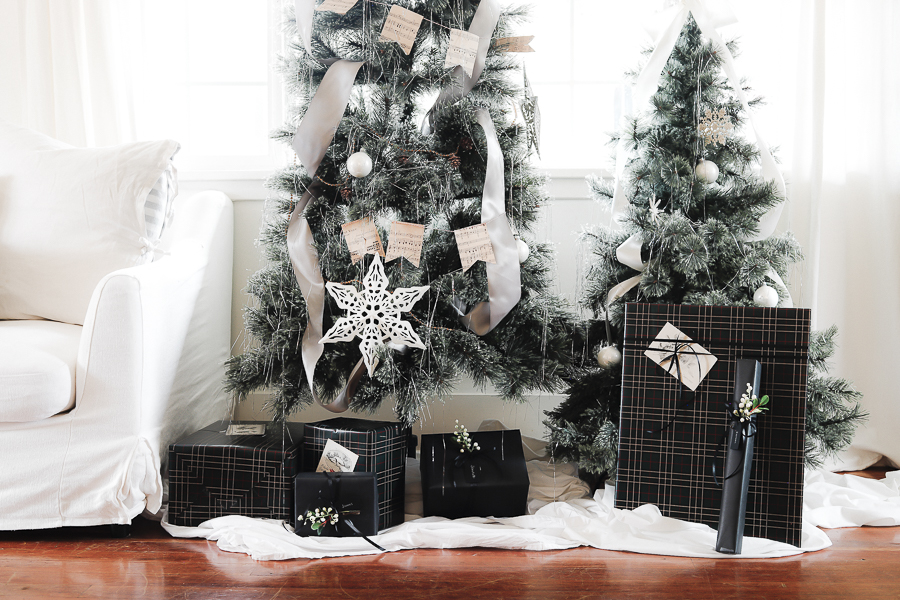
One of the issues I found with the black butcher paper is that the tape shows up pretty obviously against it. What I decided to do was to double fold the tape to create a “two-sided tape” for the more visible parts like the end flaps.
I think you could certainly plan further ahead and use true double-sided tape or glue dots for this same process and to create a nice sleek look.
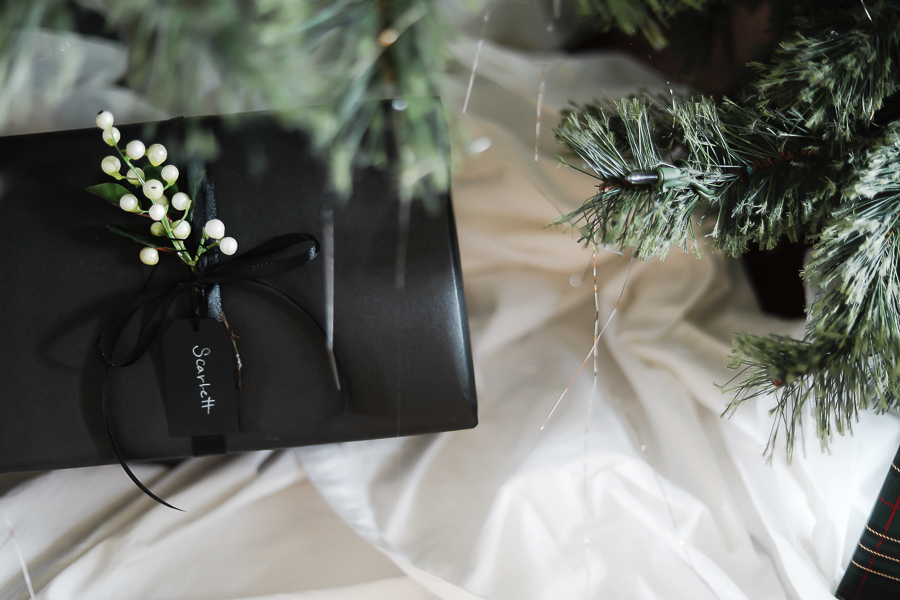
For the black presents I went with a black on black on black look for the ultimate in sophistication.
I used the thin black ribbon to create multiple overlapping and spaced passes around each present before tying off with a simple bow and adding the black tag.
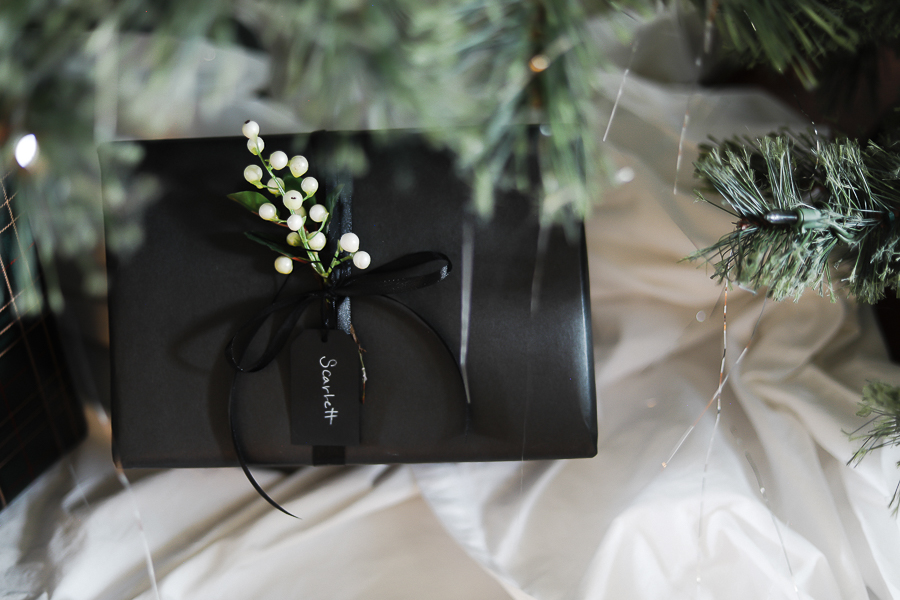
I also added in a sprig of white berries to help lighten the overall look and give some contrast.
My favorite trick for adding in little pieces like berries or faux greenery is to have your hot glue gun ready and heated up while you’re doing your ribbon.
Securing your additional piece with the hot glue keeps it from falling off in transport (if you’re taking it to Christmas somewhere other than your home) and or while under the tree.
I always keep my wire cutters handy when I’m working with faux florals to trim down the stems if needed.
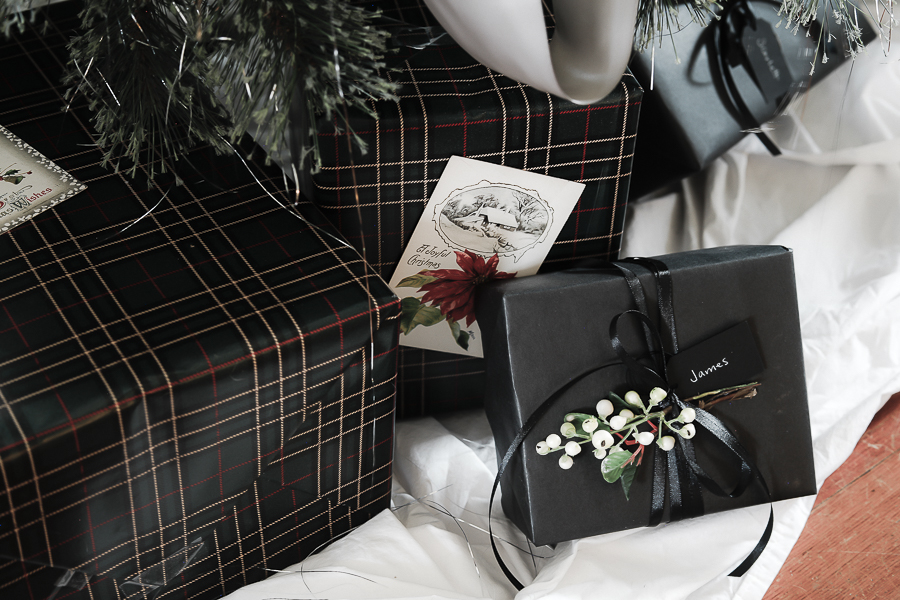
And I always like to look at the sprig and fluff and rearrange the leaves and flowers or berries before gluing it down. I think of it as having a true “back” and front side, and make sure that the side that I’m working with has all the focus, with the back being pretty flat and boring – since it’s just going to be stuck to the box with glue.
I think of them almost like little boutonnieres for the present.
Next I used the white pencil to carefully write the recipient’s name on the black paper tags and it turned out lovely.
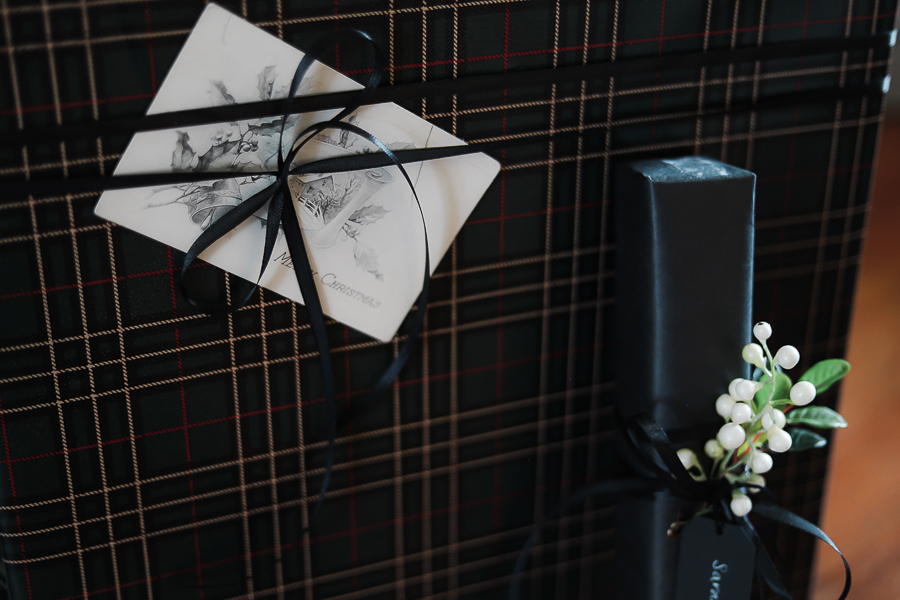
For the plaid gifts, I did them a little bit differently since there was already much more going on with the paper itself.
I only used ribbon on some of those, and instead of using the black tags, I added these really cute vintage Christmas postcards I got from Etsy.
They’re from around 1913-1917 and I just LOVE them. I was careful when I taped them on, and I think I’ll be reusing these in my decorations for Christmas next year. (The wheels are already turning!)
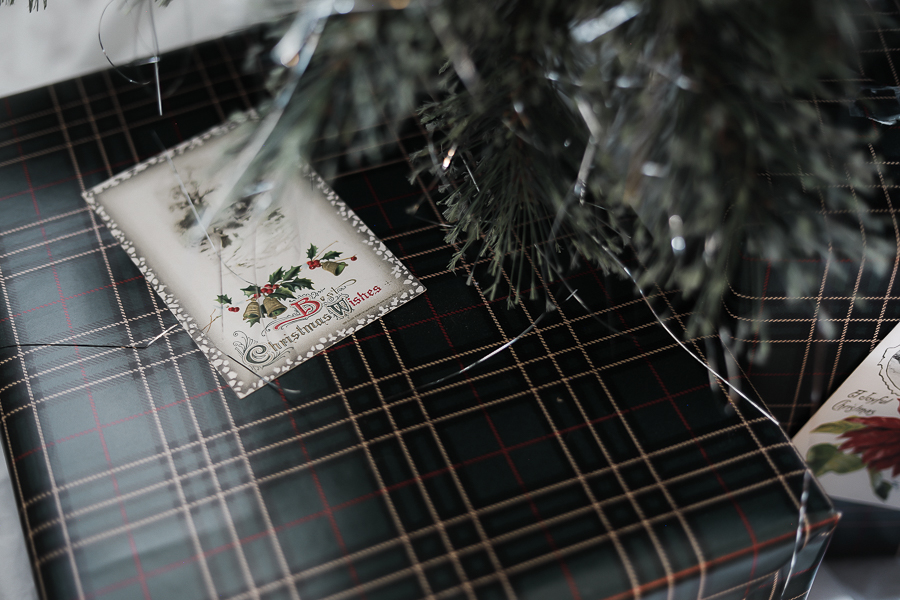
Aren’t they charming?! I just love noticing the details!
I hope these little tricks for elevating your gift wrapping inspire you and help create an additional layer of joy in the presents under your tree this year.
Merry Christmas from my family to you and yours!
Pin these Gift Wrapping Tricks for Later:
