Simple Clay Herb Labels
Here is a quick, fun project to add to a house warming, Mother’s Day or birthday gift. I even know of someone who used them for stocking stuffers.
Or you can always keep them for yourself (wink)!
They are easy enough to make with children.
+
They can be made lickety split.
=
My kind of project!
The title of the post says “herb labels”, but they could be for flowers and vegetables, too. Even a date or meaningful word would be beautiful. Don’t you think?
So, gather your supplies and have some fun!
This post contains affiliate links to products I know and love. Click here to read a full disclosure.
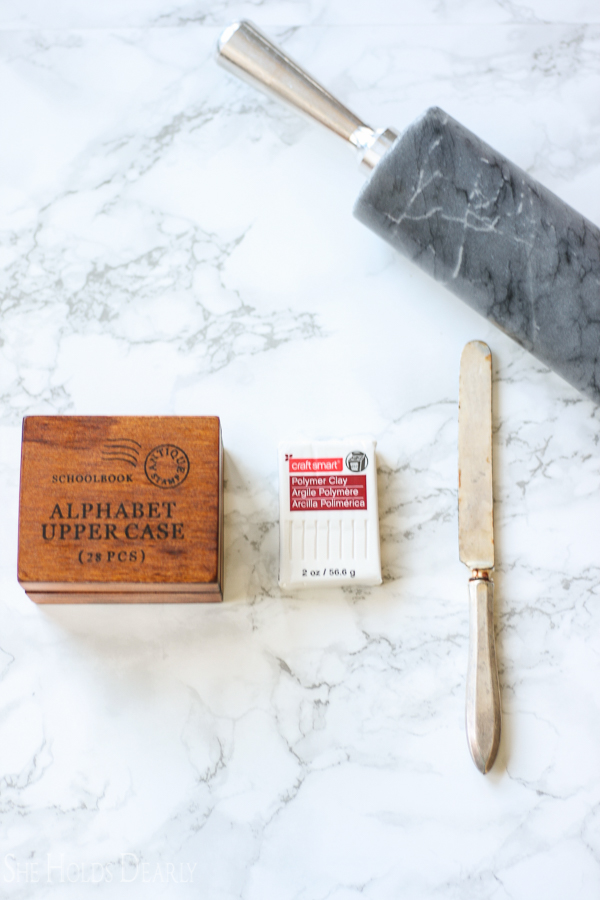
Supply List
- Polymer Clay
- I used two packs to make five labels
- The link above says out of stock. I found this clay in the Michaels store, though.
- Ruler
- Knife
- I had to use a different one from the one pictured. The little rust spot transferred to the clay when I cut with it. Boooo!
- Rolling Pin
- Rubber Alphabet Stamps
- Oven
Tutorial
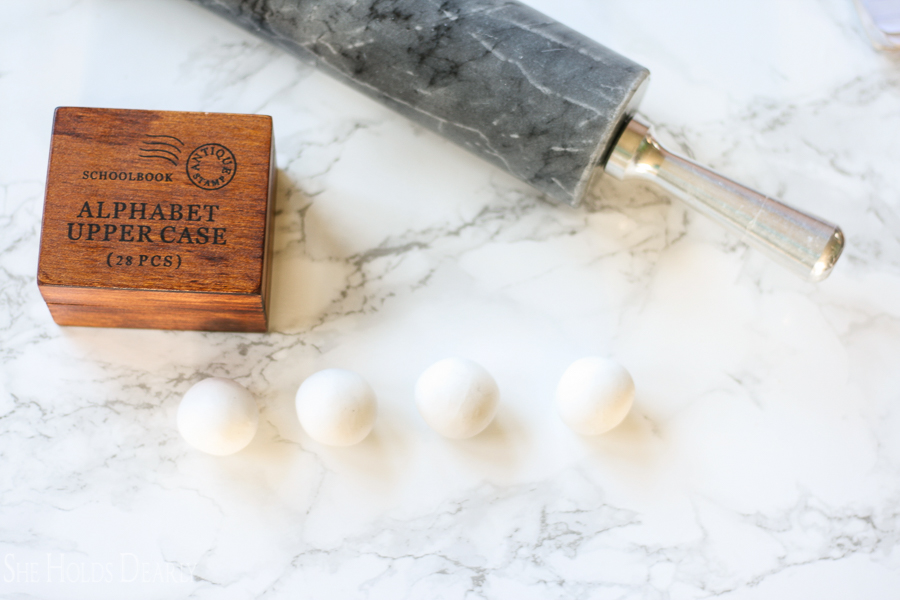
- Wash your hands. Any dirt or color at all will transfer to the clay with you start to handle it.
- Roll the clay into 1 1/2 inch balls. I used three sections at a time from the clay package.
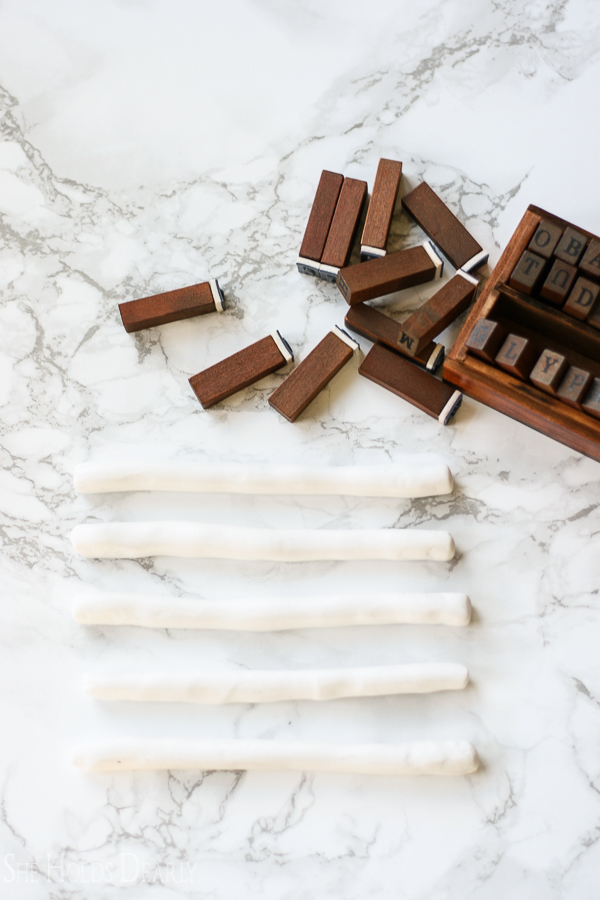
- Next, roll each ball into a 5 1/2 inch roll (or “snake” as we used to call them when we played with play doh).
- Then, using the slightest pressure, roll each “snake” flat to a 1/4 inch thickness.
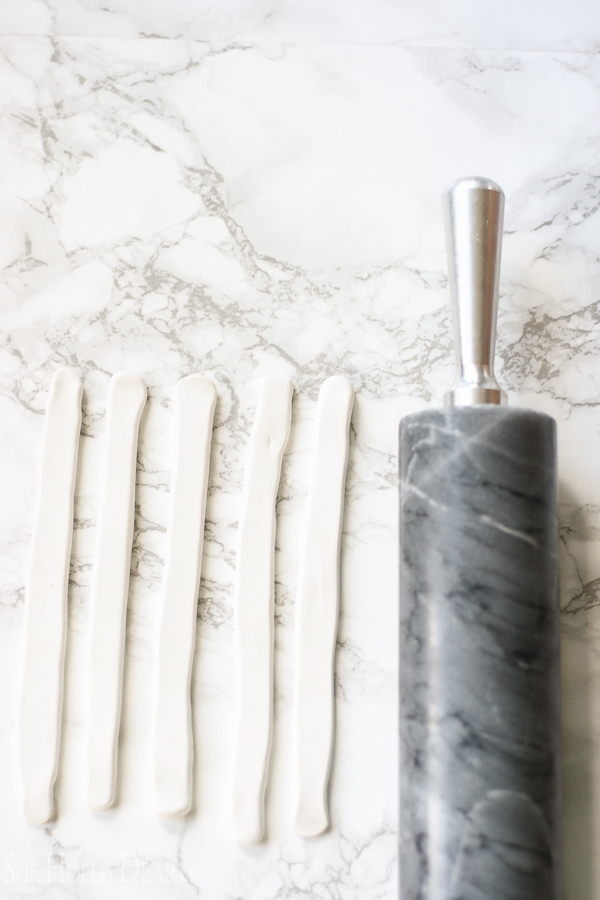
- Transfer to your baking dish (I used a cookie sheet). Using your alphabet stamps, gently stamp the words you would like on your labels. Cut the ends at an angle. Smoothe out any imperfections.
- Bake according to the package directions. Once they are cooled they will be ready to use!
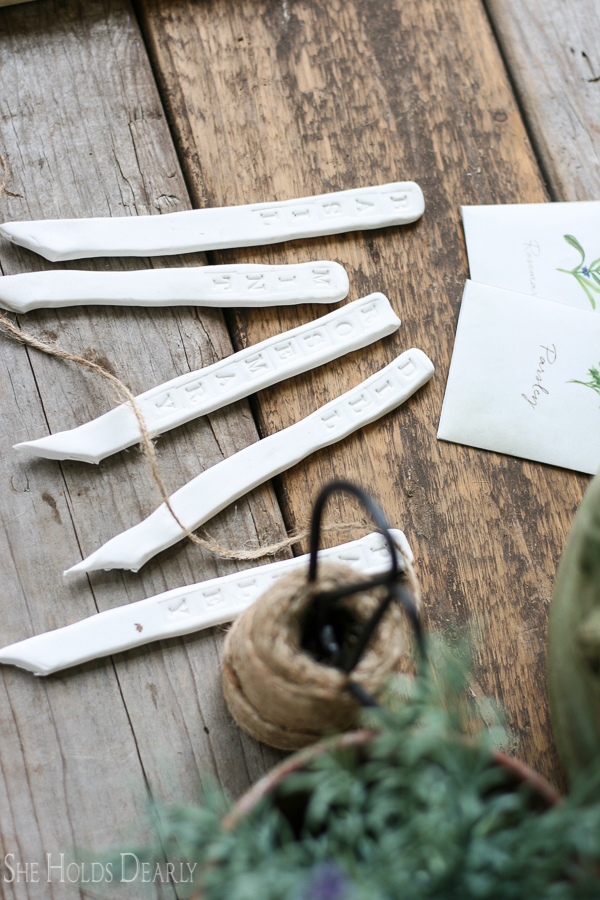
So there you have it- play, measure, stamp and bake!!
If you don’t have the time or inclination to make these yourself, here are four of my favorite plant markers from Amazon.
Pin these DIY Simple Clay Herb Labels for Later:
Welcome to
SHE HOLDS DEARLY
Categories
All Posts
Handcrafted
Room tours
SECOND HAND
Seasonal Decor
Design lessons
Subscribe


