DIY Canvas Drop Cloth Curtains
Looking for an easy, inexpensive DIY tutorial for making your own Canvas Drop Cloth Curtains? Look no further! Read on to make a simple but impactful change!
If you’re like me, you probably have seen the dreamy white linen-look curtains floating around online and were a little stunned when you realized they were made out of drop cloths, right?!
Curtains can be so hard to get right, the inexpensive ones often look cheap, and the high quality ones also come come with a high price tag. So realizing that you can make your own that are not only elegant, but also only cost around $50…. well that’s what interior design dreams are made of.
This is a perfect DIY project whether you’re just starting out as a beginner or if you’re well-experienced!
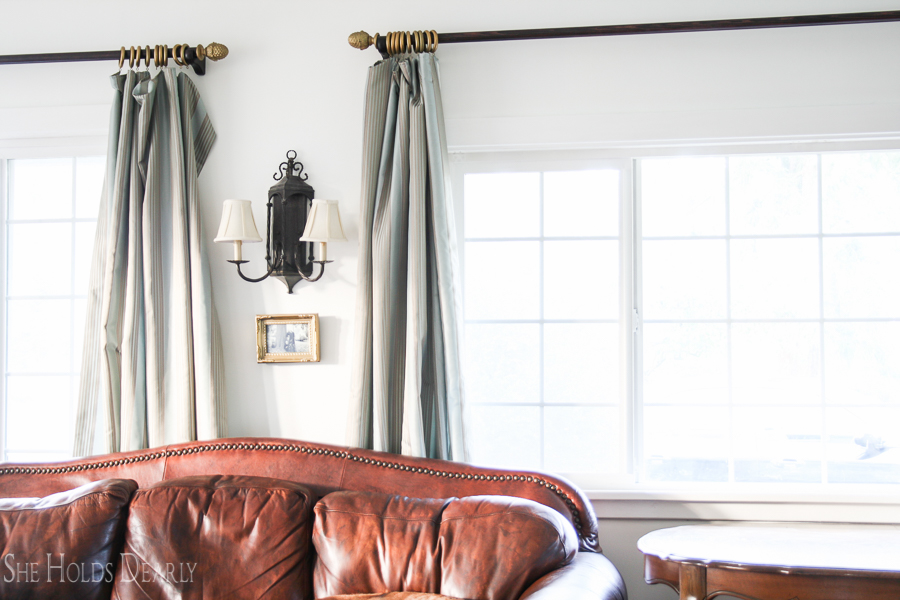
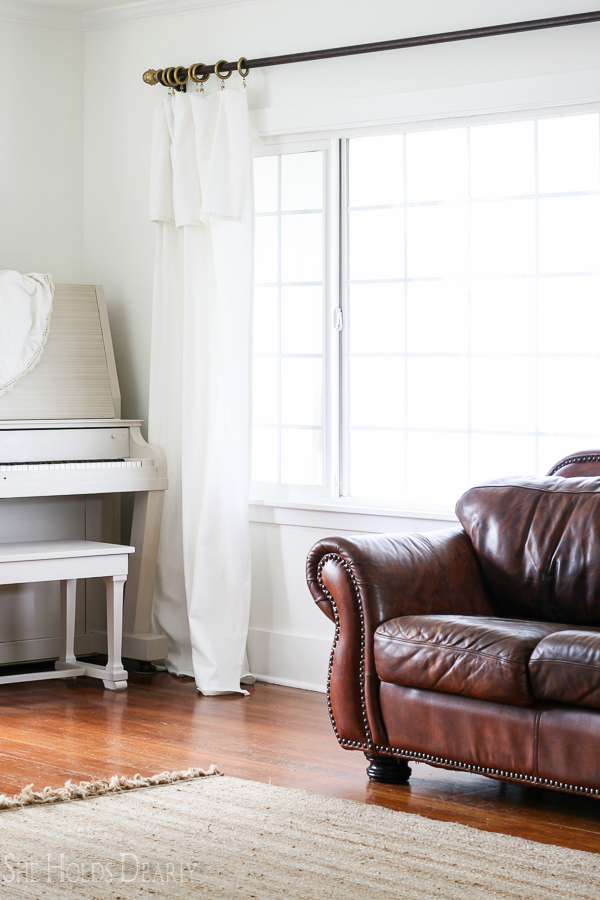
Here are a couple of Before pics of my living room.
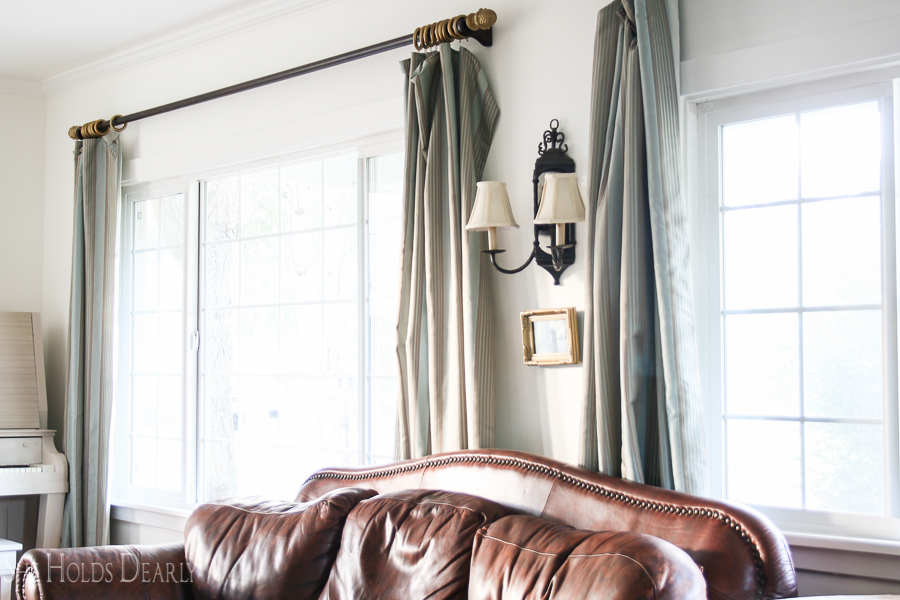
I still love the fabric from these curtains and will be using it again, but I am in the process of re-designing this room and I wanted something much more flowy, casual and romantic.
Finding long curtain panels that were inexpensive had proved to be a challenge for this room. I like to have 4 inches “pooling” on the floor, and I like having my curtain rods several inches higher and wider than the windows themselves, which, especially when those aspects are combined make for a tall order from ready made curtain panels.
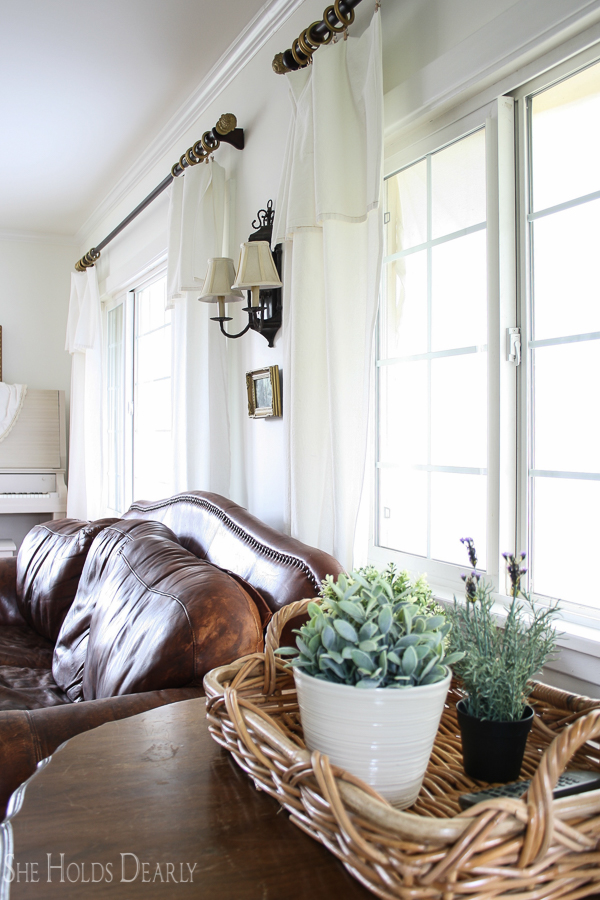
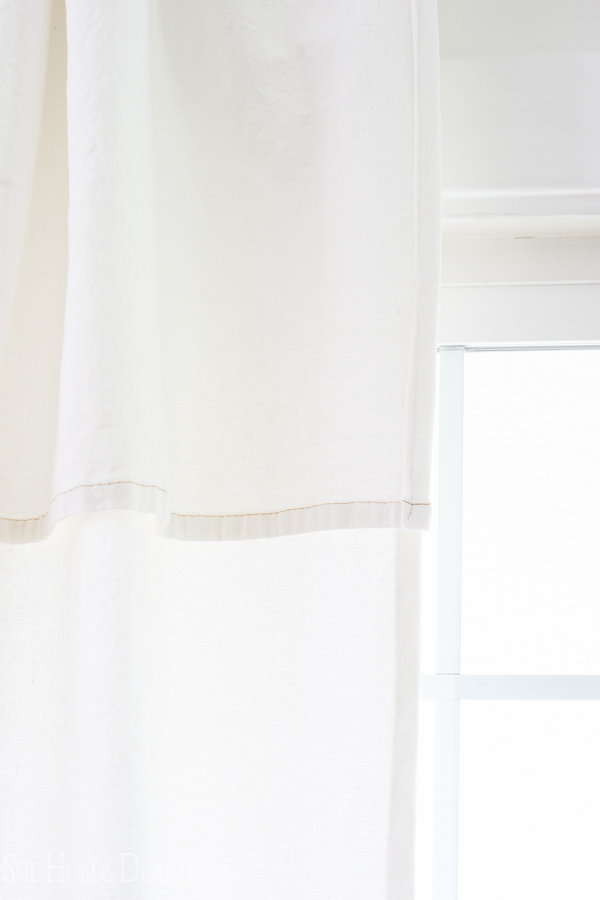
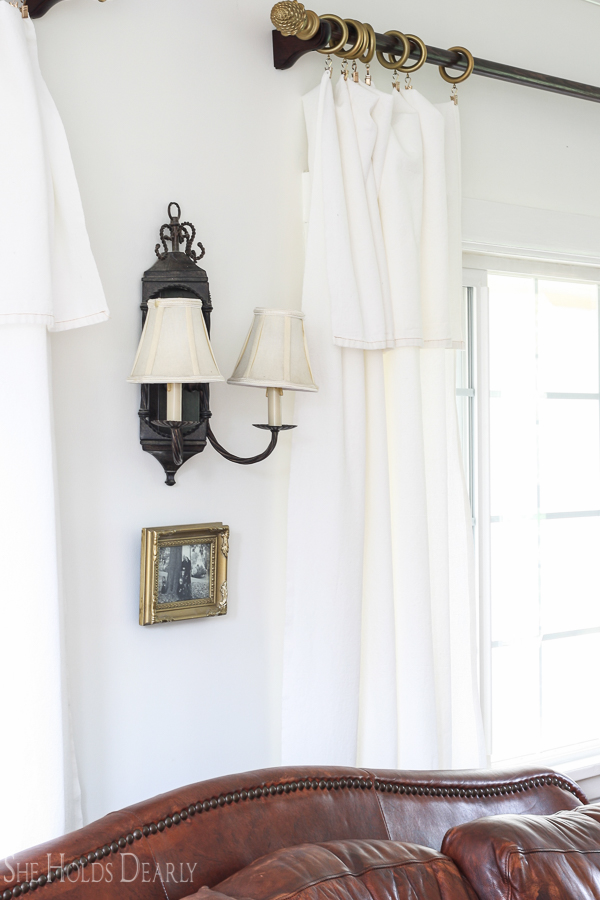
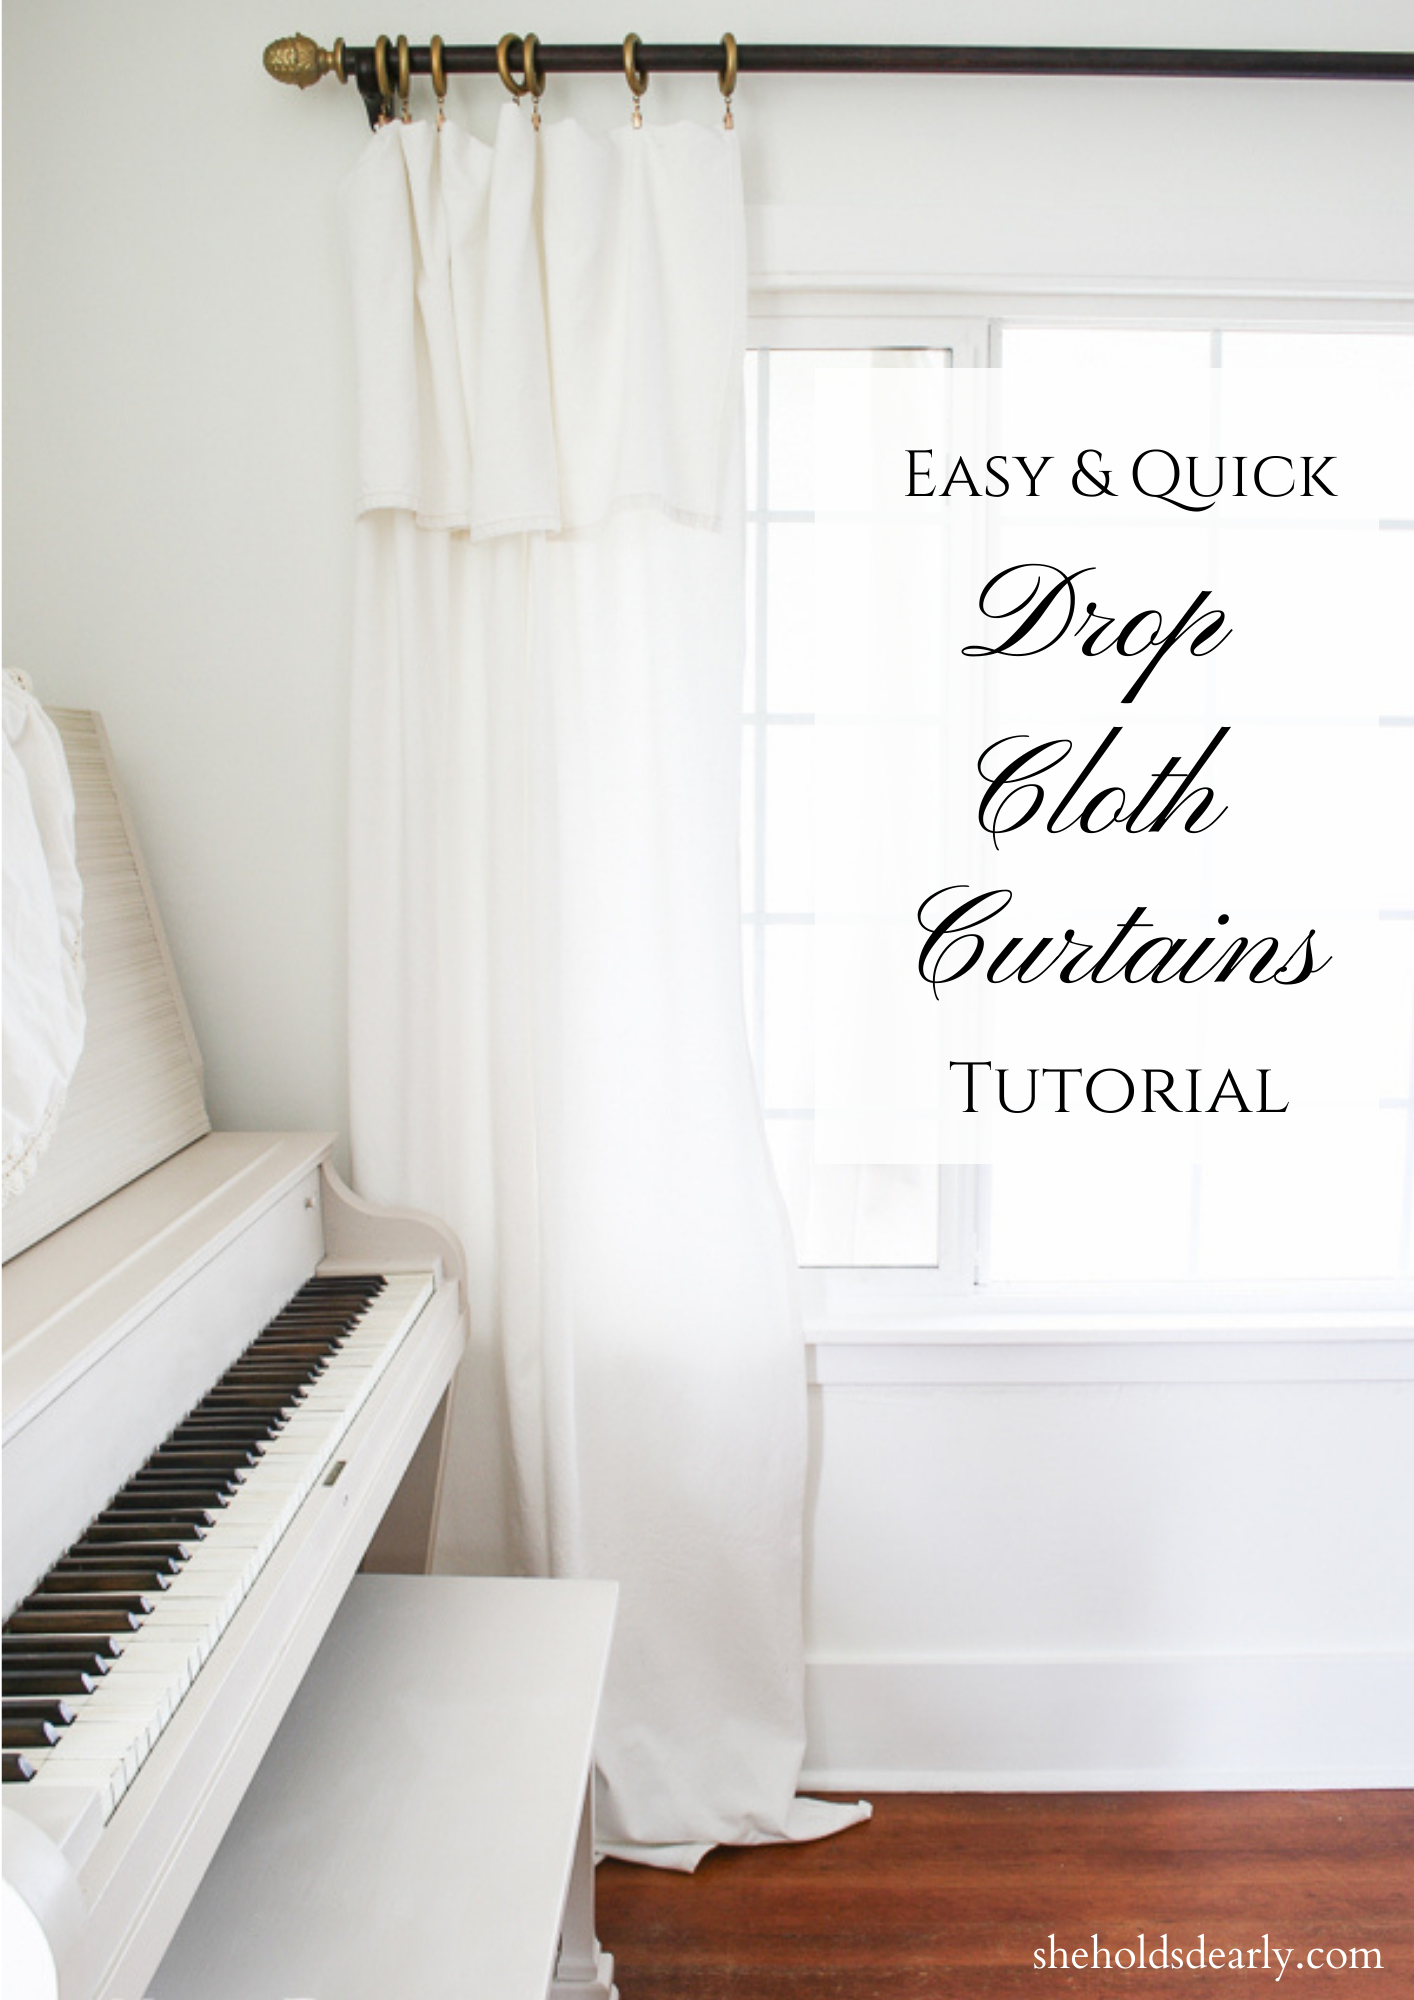
Once I realized I could DIY curtain panels with drop cloth curtains, I also knew I would add some extra detail and interest above eye level (a classic interior design trick) by folding the fabric down to create a wide ruffle.
Here’s a sneak peak! Scroll down to see how I did it!
This post contains affiliate links to products I know and love. Click here to read a full disclosure.
Supplies |
- Curtain Clips
- I use seven per panel here.
- Curtain Rings
- I usually find these at garage sales and paint them. Here is my favorite gold spray paint.
- Drop Cloths (You could also do these same curtains with either: extra long curtains panels, or linen/canvas/cotton by the yard from a fabric store!)
- Matching thread and sewing machine, if hemming the panels.
- Note- if you have no sewing experience, this would be the perfect first project!
My rough cost was $50, but yours will depend on the number of panels you need to make!
Tutorial |
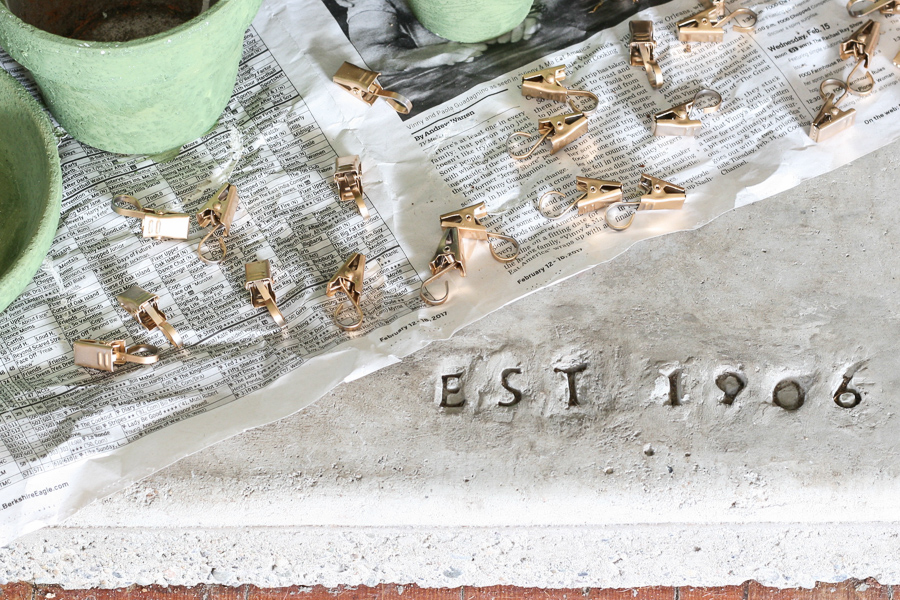
Step One | Spray paint your hardware, if needed.
I chose to make mine gold to match the metals already being used in our living room. Then I was able to leave them to dry while I worked on getting the panels ready to go.
Step Two | Decide how long you want your top ruffle and full length to be.
I chose to go with an 18″ ruffle at the top, and 4″ of pool past the height from my curtain rod to the floor.
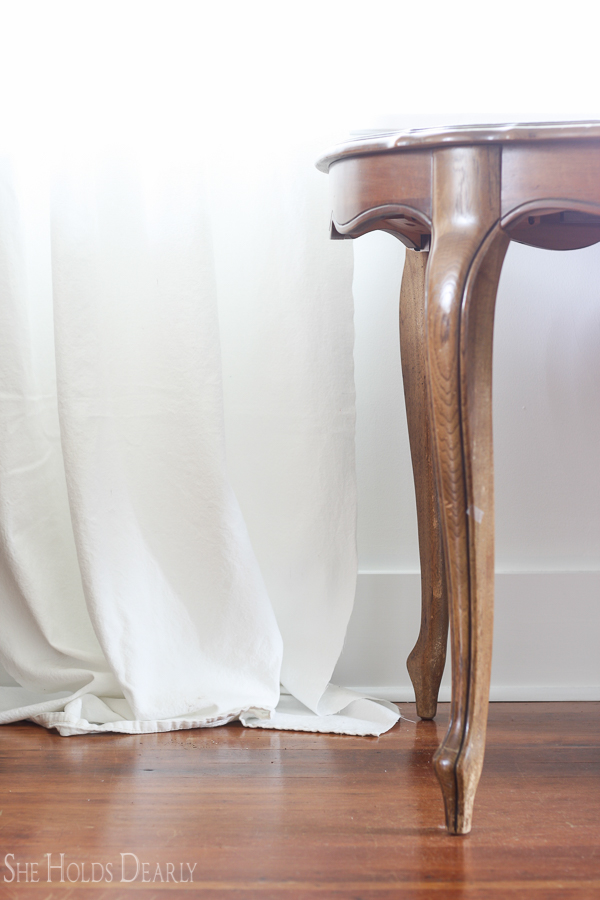
To Pool or Not to Pool…
If you’re not sure what pooling means, or aren’t sure how much you should pool your own curtains, here are some visual helps. Pooling is just referencing how much of the curtain length sits on the floor when you’re finished. Some designers choose to hem their curtains above the floor or to have them just “skim” the floor. Both of which are shorter than even my favored 4″ pool.
It’s really all just design preference!
This is ten inches of “pool” past floor length.
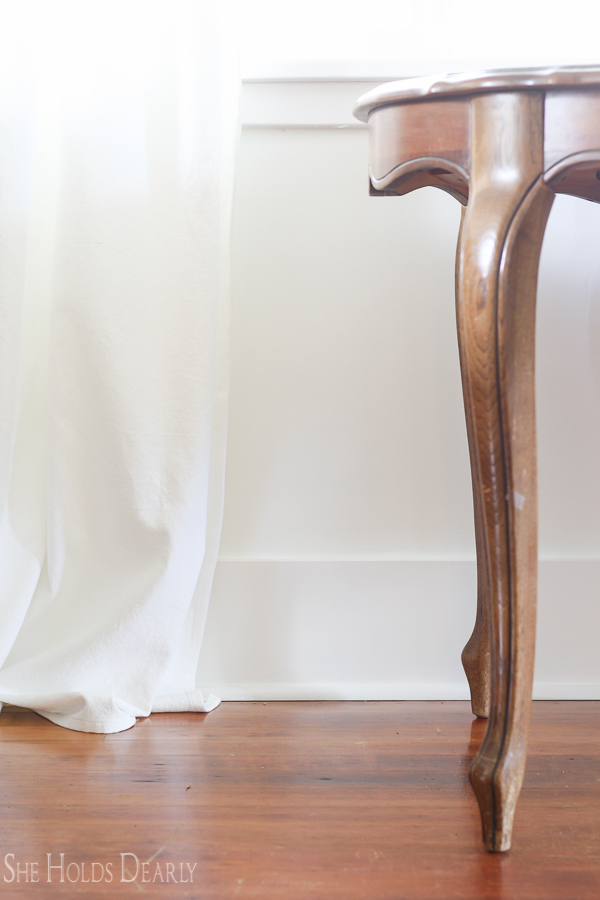
And this is 4″. As a general rule, I like this length for almost all of my curtains.
It’s soft and pretty without getting too dirty from the floor.
Step Three | Cut your Material to Length & Hem any cut edges.
When you are cutting, remember to leave an extra inch for seam allowance.
Use the cut side as the top where your ruffle will be, and while you are hemming it, take care to to hem the edge in such a way that the cleaner edge is showing after the ruffle is folded down away from the curtain panel for the most finished look.
I used a simple double folded hem for mine.
Step Number Four | Iron, if desired.
You can also easily steam these once they are in place if you have a steamer and prefer that method!
Step Number Five | Clip in place.
By now your clips should be dry and ready to go!
To make the ruffled edge even without tedious measuring, clip the first and last clip in place, and then pull the panel toward you to find the middle. Clip the middle in place, and then roughly estimate where the remaining clips should fall and clip them in place.
This should only take about 1 minute per panel, and doesn’t have to be exactly perfect for the casual flowy look.
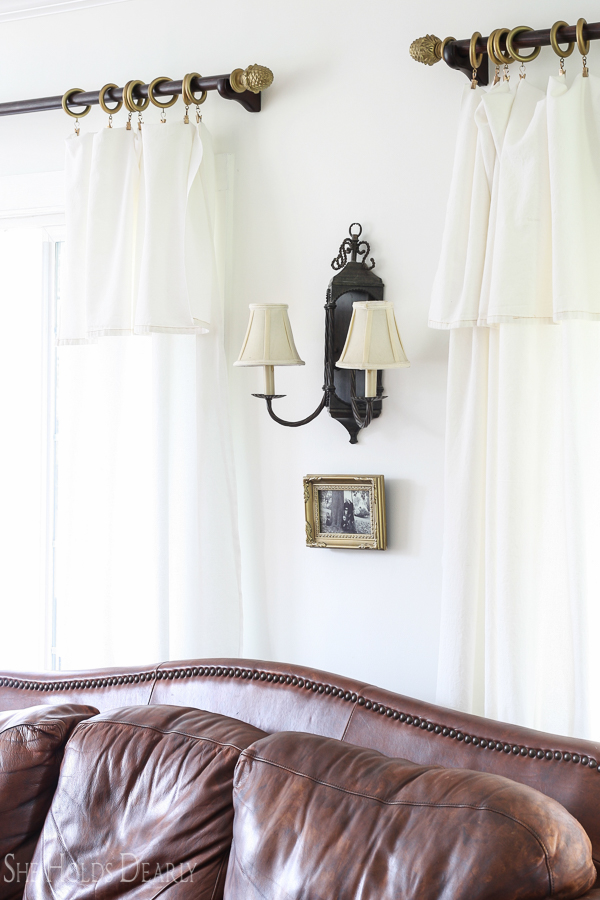
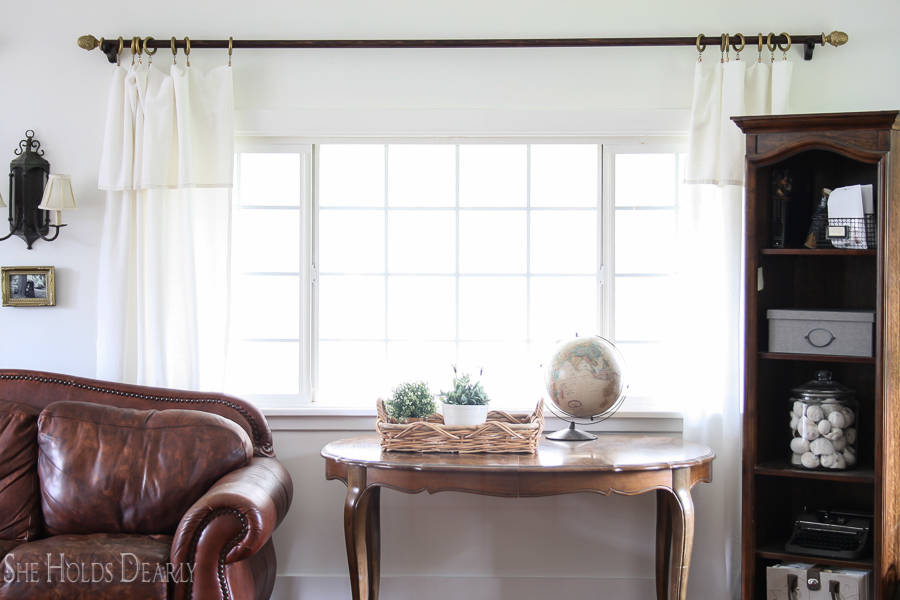
Step Number Six | Step Back and Admire your new Drop Cloth Curtains!
This step is a must at the completion of any DIY project.
I just love how they turned out!
By simply folding down the curtain panels and clipping them in place, I was able to quickly change the look of our living room. The result is soft and feminine. The fabric has good weight to it but is casual enough to lend to the farmhouse feel that I am going for.
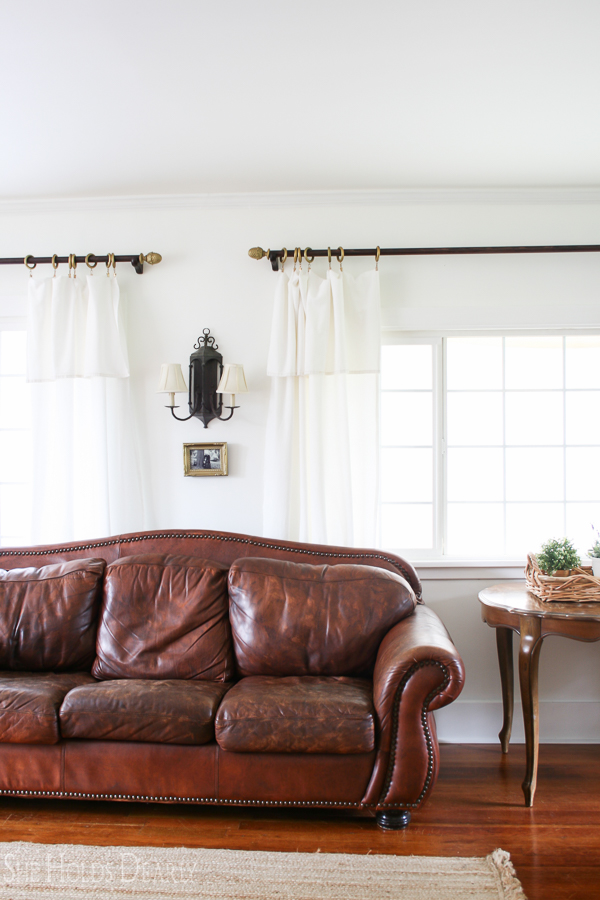
And there you have it. Quick, simple, inexpensive . . . oh and very elegant. My favorite kind of project!
It just feels like it seamlessly adds to the overall quiet beauty of the living room.
UPDATE- To see the finished room, visit Farmhouse Living Room Reveal!
If you decide that you’re not ready to DIY your curtains at this time, may I recommend Two Pages? They make beautiful quality custom drapes and are wonderful to work with!
Use code SHEHOLDSDEARLY for 15% off your order!
Pin these DIY Drop Cloth Curtains for Later:
Welcome to
SHE HOLDS DEARLY
Categories
All Posts
Handcrafted
Room tours
SECOND HAND
Seasonal Decor
Design lessons
Subscribe


