DIY Slipcovers with Piping | Slipcover & Upholstery Series
Slipcovers with piping may sound intimidating, but the process actually isn’t too difficult – even for someone who is relatively new to sewing!
In a continuation of my Slipcovers and Upholstery series – today we’re going to tackle slipcovers with piping!
Last year I shared a tutorial on how to make a No Pattern DIY Slipcover, and this post today actually follows a lot of the same processes, but we’ll be adding piping!
If you’ve never added piping to an upholstery project before, now is a fantastic time to start! In addition to the added touches of both design and elegance; piping also helps create structure and helps you have a more fitted professional looking piece.
If you’re wanting to add piping to your project, skip on over to my post about Creating Custom Piping for details on that step!
There’s just something about knowing how to do slipcovers (especially with piping) that makes a DIY decorator feel like they’ve hit the jackpot.
Once you know how to tackle these smaller projects, you can use these same skills to slipcover any type of chair, couches, and even full sectionals!
Slipcovers and Upholstery Series
I hope that you’re being inspired and encouraged as you follow along with the blogs in this Slipcovers and Upholstery Series!
To recap, here are the other blogs in the series so far:
- Create Custom Piping
- How to Replace the Old Foam in Your Recliner
- Recliner Foot Rest (I also like to call this upholstery 101 – these principals discussed can be used to recover simple dining chairs, stools, or benches!)
- DIY Recliner Slipcover
Today we’re going to discuss the creating slipcovers with piping for the arms of our recliner!
Before I begin, some transparency!
I wanted to address a few things I’ve realized since making some of my earlier posts in the series to revise earlier things I had said! I always want to help you by letting you learn from my mistakes!
When I replaced the foam in my recliners, I had cut my seat pieces a bit smaller than I actually ended up needing. I thought that I had enough of an allowance to simply use what I had and carefully carved and folded the foam to create the “bull nose” that rounds the front edge of the chair (where the back of your knees hits when sitting down).
I had originally just secured that “make it work” piece with duct tape and figured that the upholstery material would help keep it in place once pulled tight.
Over the last few weeks since finishing that post, however, the foam has loosened from the tape and sticks up in a not-so-cute way at the front of the chair.
I think it was a rookie mistake to believe the tape would hold it in place well enough, since the piece of foam was truly just a bit too small for the task!
I’m not sure yet if I’ll need to re-replace the foam, or if the slipcover might cover it enough once finished so that it’s not terribly noticeable anymore. I’ll keep you updated as I work on that final blog!
The take away is to make sure and cut your foam big enough to create a full bullnose of your own that truly wraps down and around the front edge of the seat!
The second and final learning experience I wanted to share is that sourcing my favorite hemp sheets (you can read all about those in my Recliner Foot Rest post linked above) has turned out to be even harder than before! The couple of sets I’ve found on eBay have been either far too thin/, or too thick and have not been suitable for my projects. And returning them has been complicated and a bit of a nightmare.
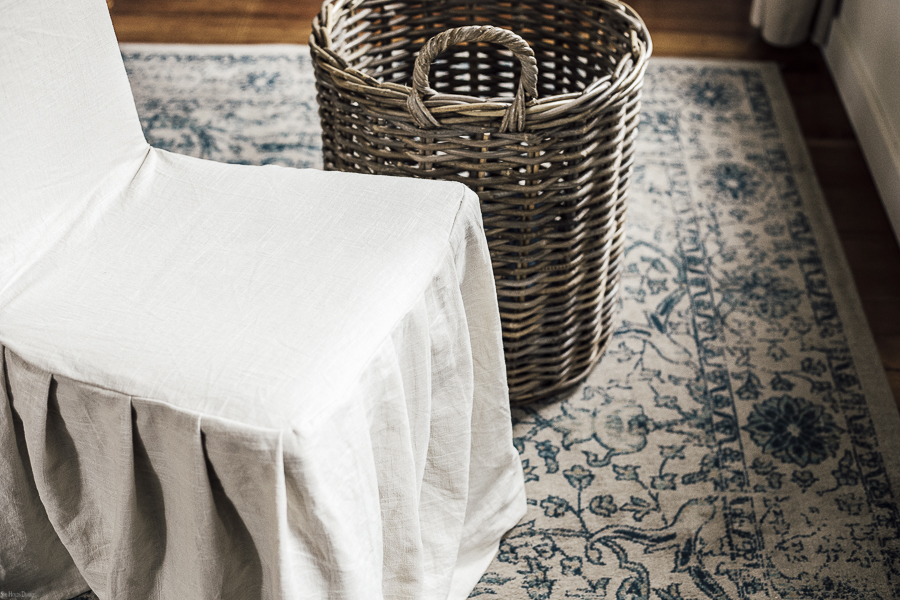
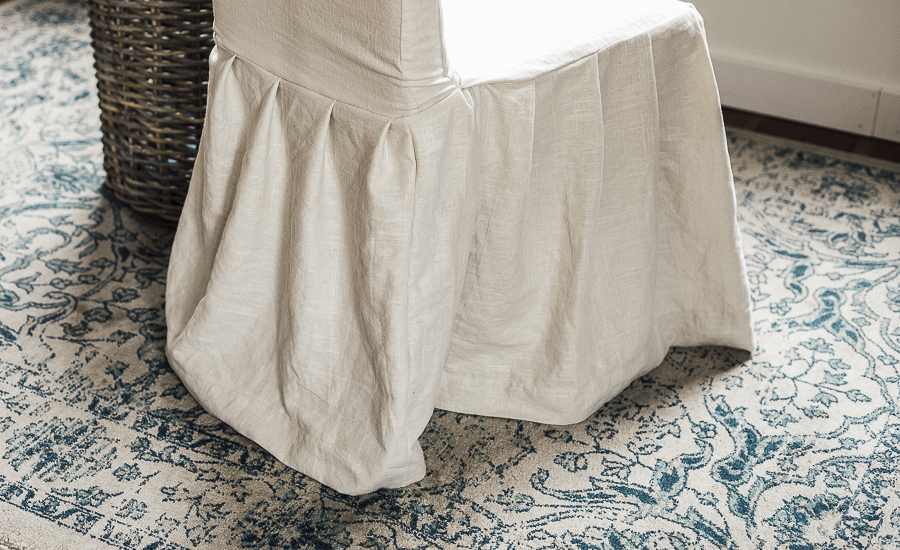
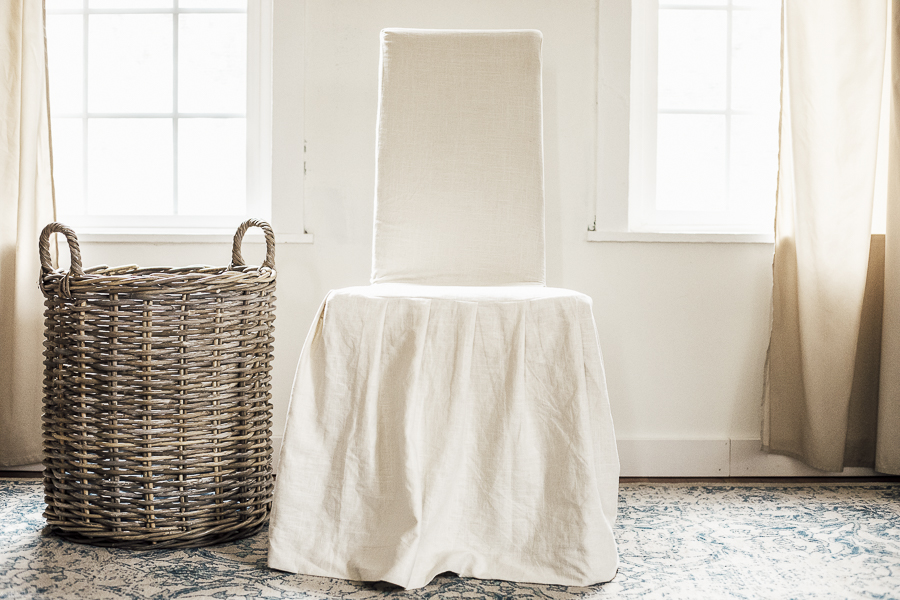
So, that all being said, while I still love and appreciate the workmanship and history of those lovely hemp sheets, I’m switching over to using linen from Joanns for the remainder of these chair projects! It’s the same linen I used when I made my Parson’s chair slip covers.
*This post contains affiliate links to products I know &/or love.
Today’s Main Event | Slipcovers with Piping
Now, onto today’s tutorial!
Supplies:
- Linen Material (Yardage depends on the item you’re recovering! My favorite color from that link is “Papyrus”.)
- Finished piping (Either homemade or store bought – quantity/length again depends on the item you’re working with!)
- Sewing Scissors
- Straight Pins with ball heads
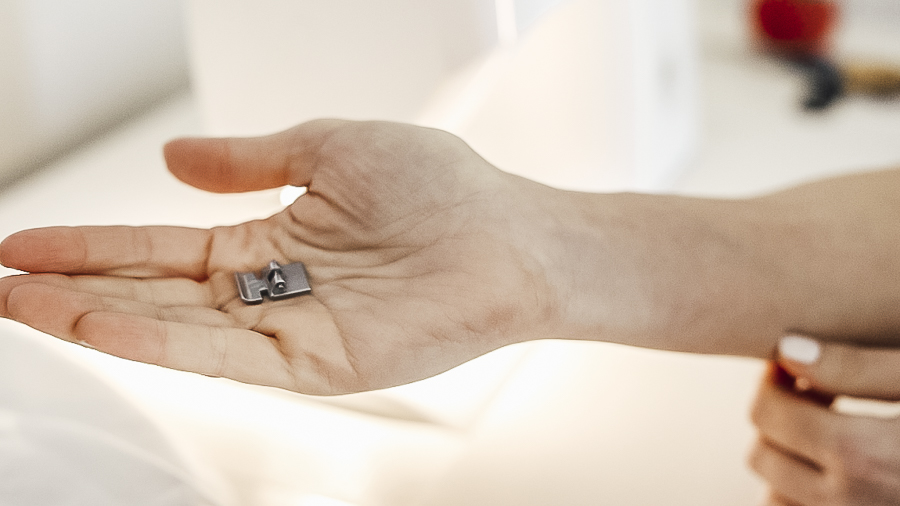
- Sewing Machine (with a zipper foot attachment)
- Iron
- Ironing Board
- Fabric Measuring Tape or Ruler (if you’re not big on estimating)
Last minute notes before we begin:
When you’re working with something like a recliner that has moving parts – make sure to mentally break your chair into pieces to preserve the reclining aspect!
On my chair, I did the footstool on it’s own, I am doing each arm separately; then the chair seat, back and wings can all be 1 piece. (Which I’ll be sharing a tutorial on soon.)
Keep in mind that while you’re working, you’re assembling the entire slipcover inside out. That matters especially in these two areas:
1| When you’re adding in your piping
You want to make sure the “pipe” will be on the correct side/outside once you turn your pieces right side out.
2 | Your arm pieces will actually reverse sides once you turn them right side out.
This isn’t a big deal at all, just remember and don’t panic when you finish creating and sewing your pattern, and then realize that the arm is backwards! It just needs to be fitted onto the other arm of the chair! Then use that second arm to create and sew the pattern for your first arm!
Your left side pattern creates final arm piece for the right side.
Your right side pattern creates final arm piece for the left side.
Also, this process below took me about 1 hour to complete one arm slipcover, just to give you an idea.
Steps for Creating Slipcovers with Piping
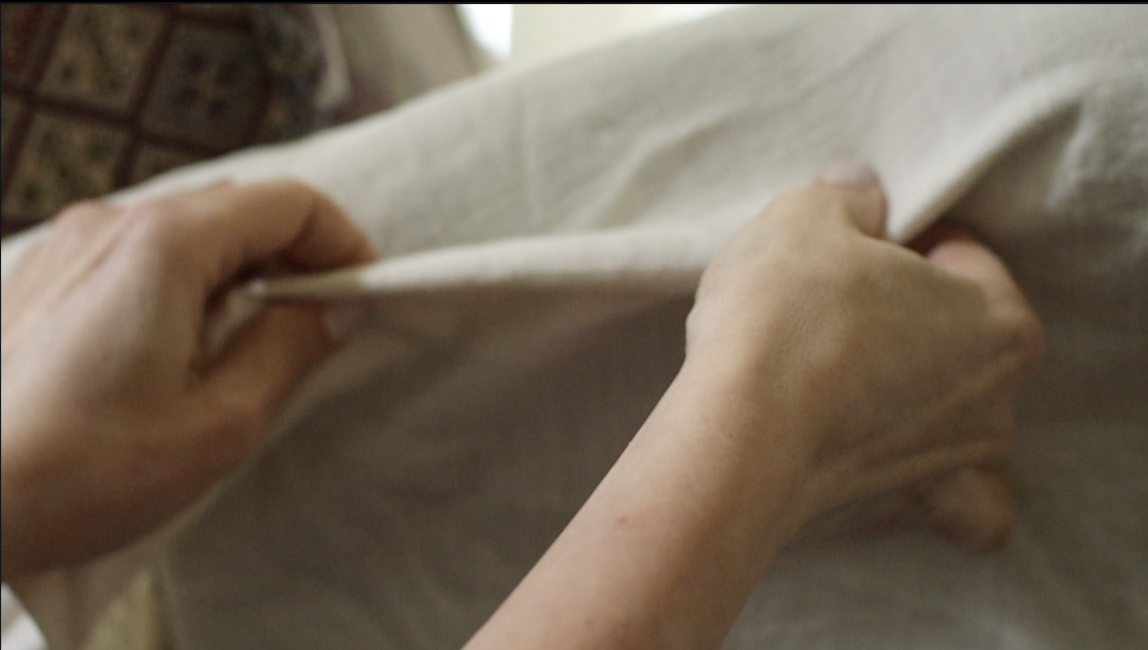
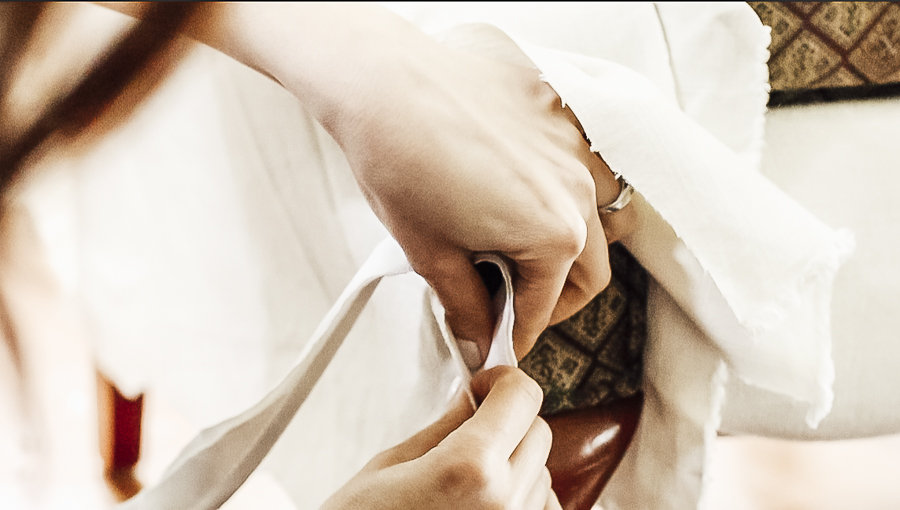
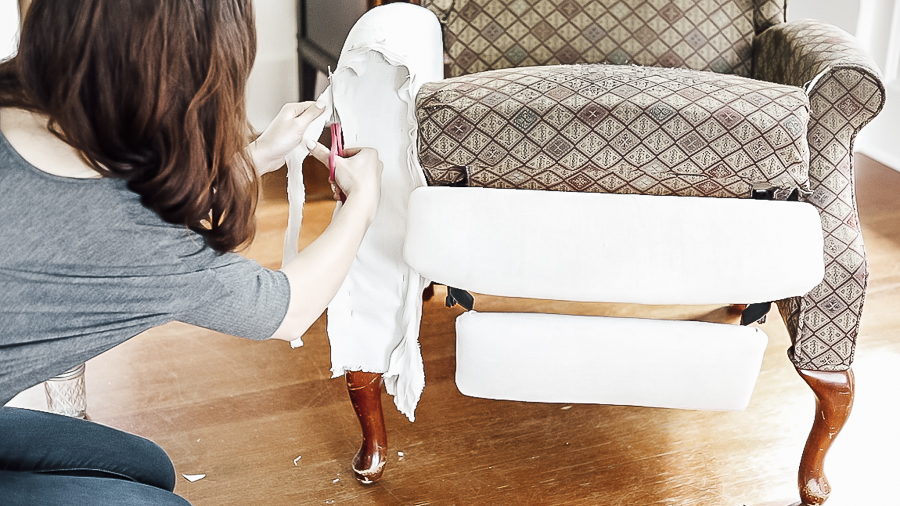
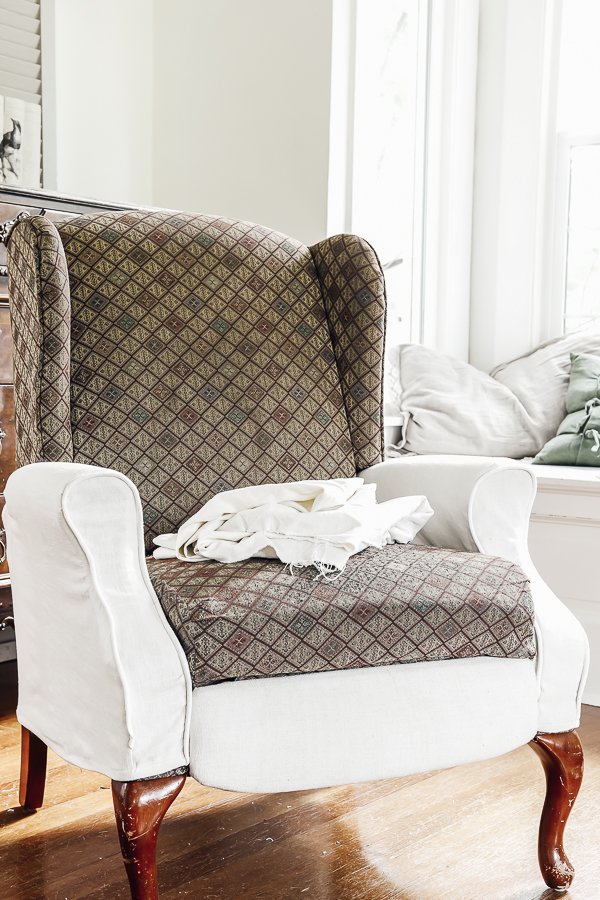
Step One | Do a rough fit to pare down to the correct size piece of material you’ll need for your first section.
I do this by starting with one edge of my fabric and tucking it in/around my first arm section.
I call this a rough estimate because you want to make sure that you have plenty of material to work with for this specific section, without continuing to work around the entire bulk of fabric from the bolt.
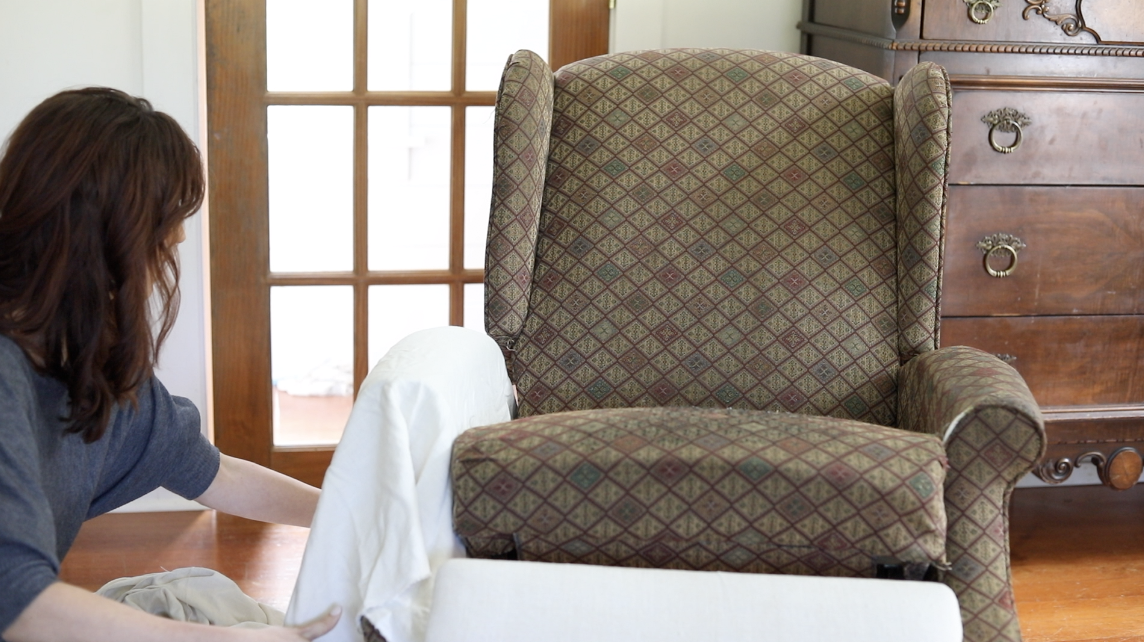
This is kind of a tricky stage when it comes to preserving and not wasting material – so just be mindful to leave yourself enough material to create your pattern piece, but stick with the edges of your yardage so that you’re not left with an arm rest shaped hole in the middle of an otherwise good length of fabric.
Cut away excess material leaving space for a full 1″ seam allowance at each of your edges that will need to be sewn. It’s better to over-estimate here than to under estimate.
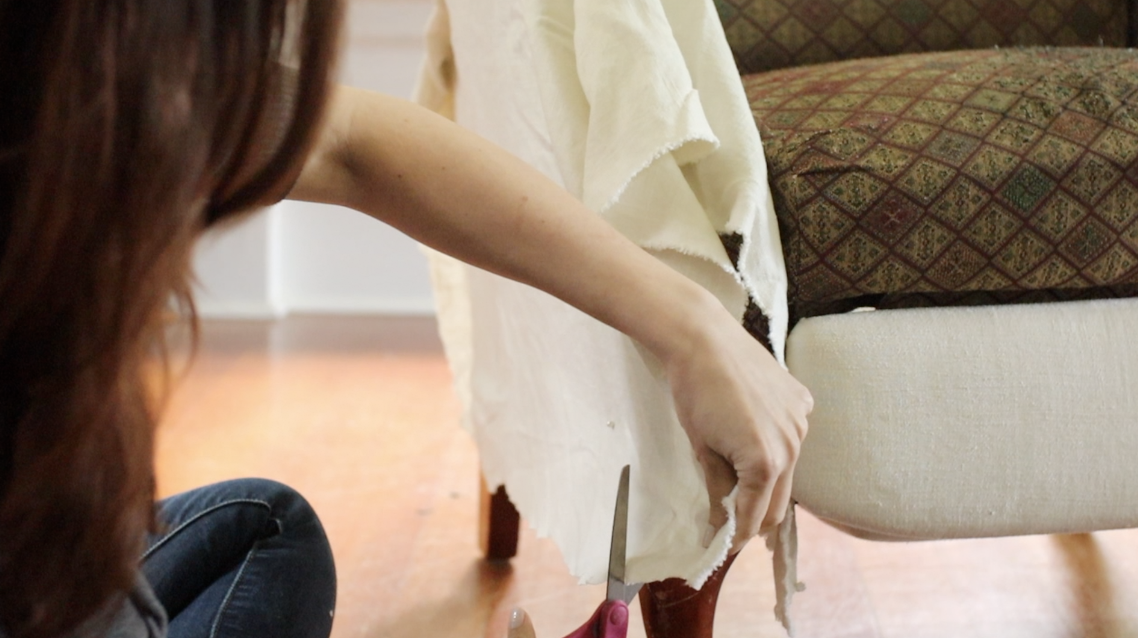
Once you have your slightly generously sized piece ready to go you can start the next step.
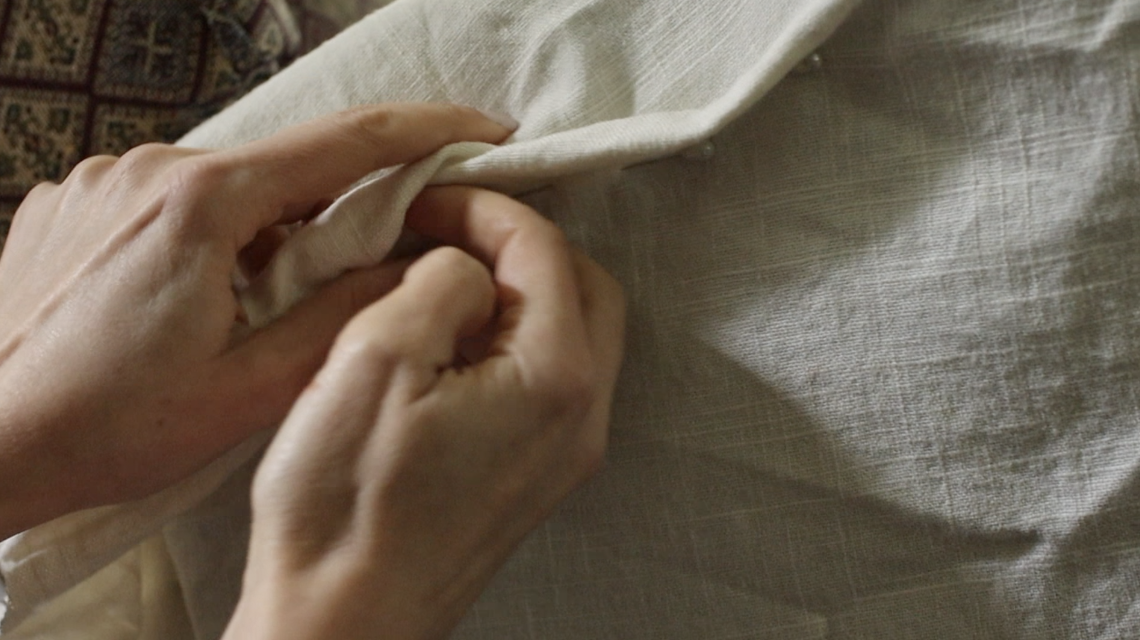
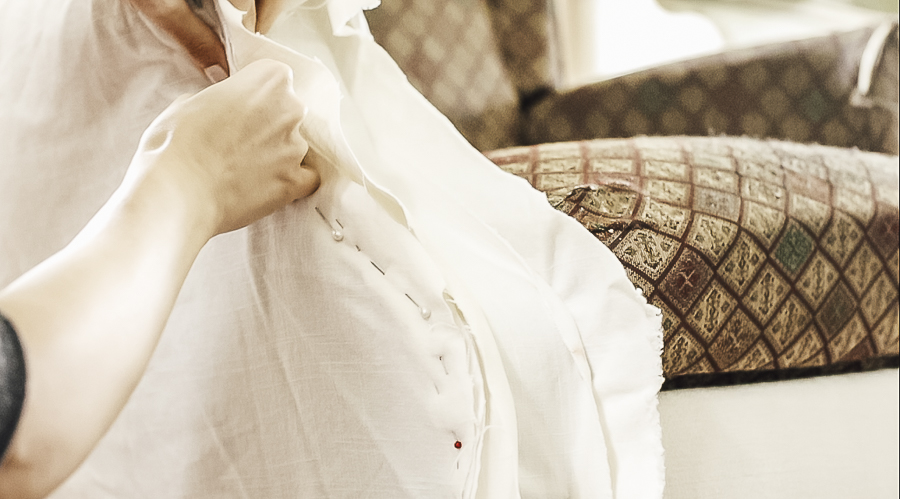
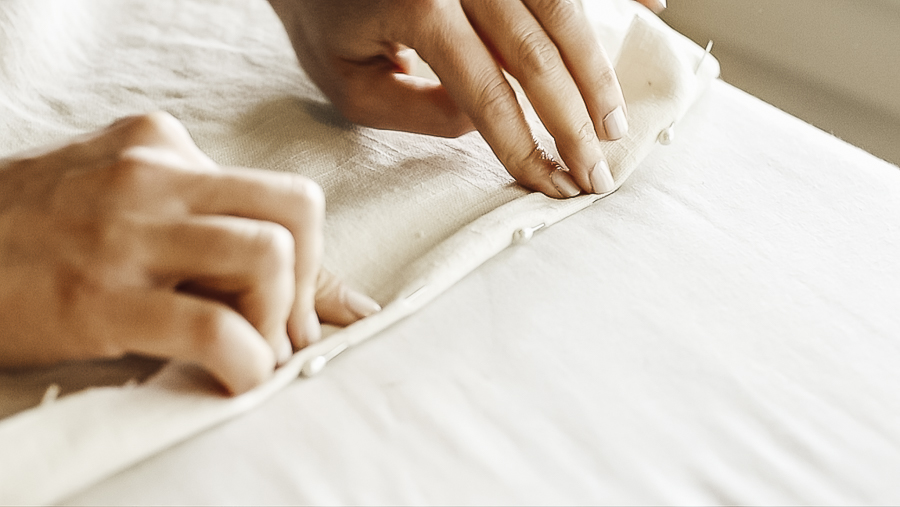
Step Two | Start shaping and pinning the fabric to get a better idea of the shape. Create darts where needed to smooth out baggy areas.
I pin through my material and directly in to the chair where needed to hold my material in place until I’ve secured it in the next step.
If you have areas that are naturally baggy/bubbly due to the shape of the piece you’re fitting around, you’ll want to create darts to help take out the excess material.
Carefully smooth and tighten the material until you get to a place where you have a nice wedge of material pinched away from the chair. Use your pins to carefully pin and mark this new dart seam.
Then going around the edge of the arm piece, pin the pieces together right where they meet and are snug against the chair. These pins will end up being your sewing seam line.
Note: Leave the bottom edge of your pieces for the very end. (See step six.)
Step Three | Attach your arm front to your arm sides.
Cut a separate rectangle piece of material to use as the “face” of your arm piece.
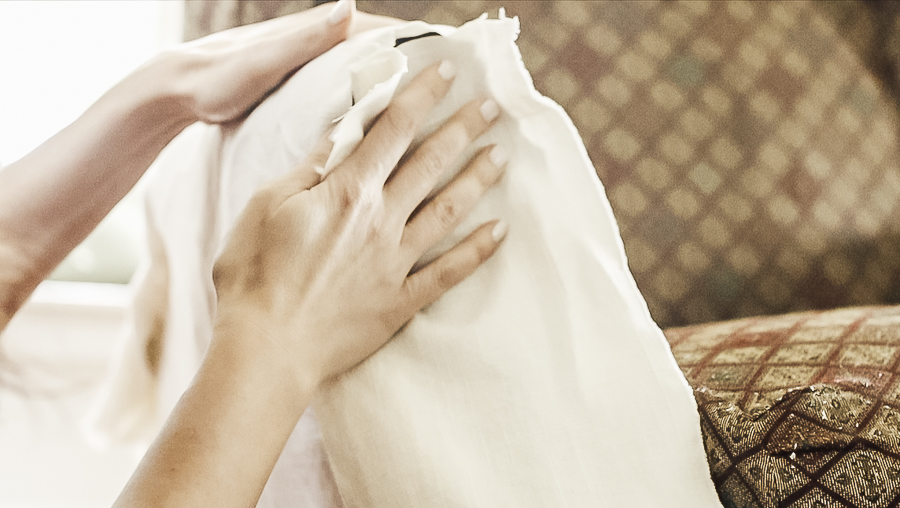
This is the piece that will be edged in your piping, so you’ll want to sandwich the piping in between your face piece and your arm side pieces before pinning.
Make sure that your “pipe”/bump is INSIDE and away from you while pinning. This will ensure that that pretty piece is on the outside of the chair once you turn the entire slipcover right side out.
I typically start at the top of my chair and work my way down pinning both sides. Just make sure your piping is measured to the correct length + a little excess, and start pinning using the middle of your piece of piping if you do choose to start at the top of your chair arm piece.
Use the same process as before to smooth and tighten the material and align the piping nicely before pinning.
Make sure your pin line is as close to the “pipe” as possible to make a nice finished look once sewn.
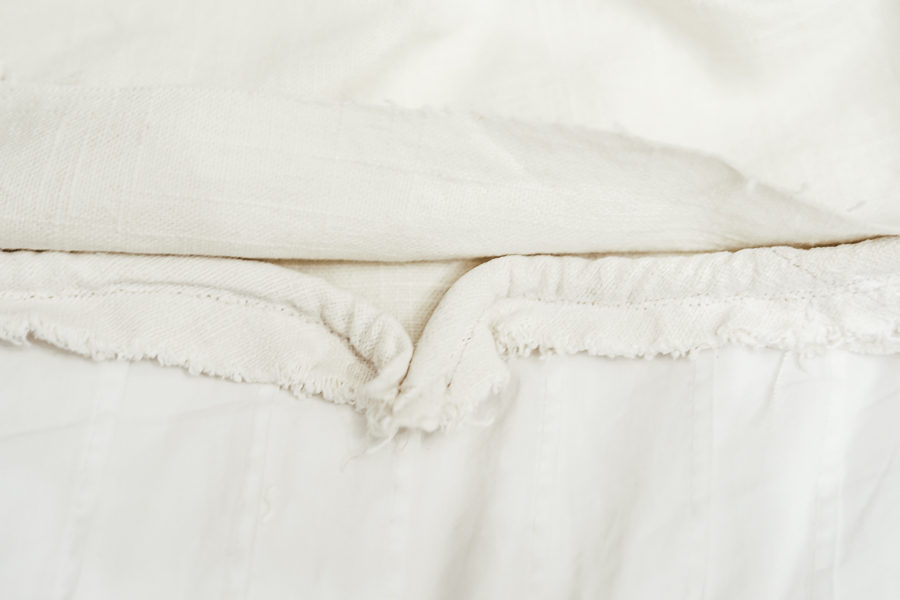
Step Four |Splice and/or Finish your Piping
If you need ever miscalculate and run out of piping before you’ve finished your piece, have no fear! You can carefully splice a new section of piping in.
Pull the end of your piping towards the outside of the seam/toward you. Create an approximately 45 degree angle with the bottom of the piping. Then overlap your second piece of piping (with the same angle, in reverse) and continue sewing! (I’d overlap even a little more than the picture here shows to make the splice less obvious!)
This same 45 degree angle makes for a nice finished look when you’re ending your piping piece. Measure against the chair itself to know where your slipcover is going to end, and tuck the piping into the seam at that same height. Once hemmed it should come out looking really nice!

Step Five | Trim excess Material & Sew
Once your slipcover is all pinned around a specific section, trim away the excess material to only a 1″ seam allowance.
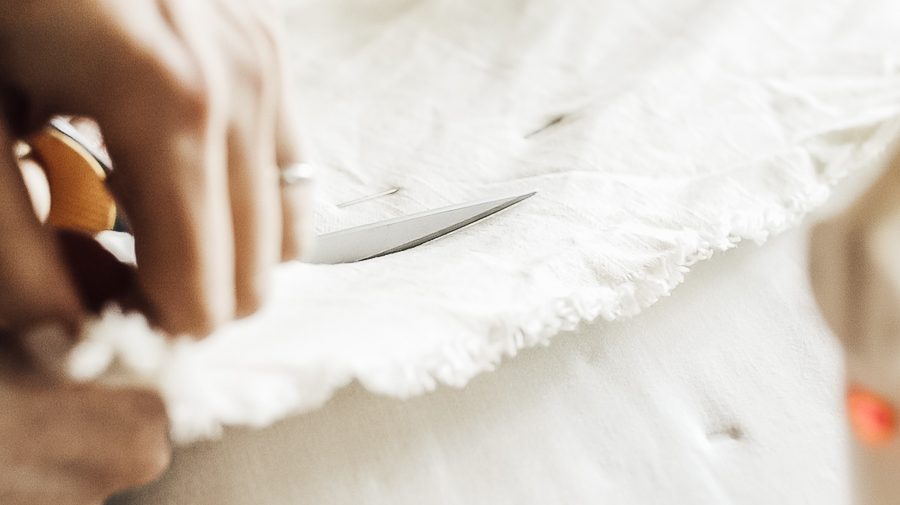
Carefully remove the slipcover from the chair and use your sewing machine to sew along your pin line.
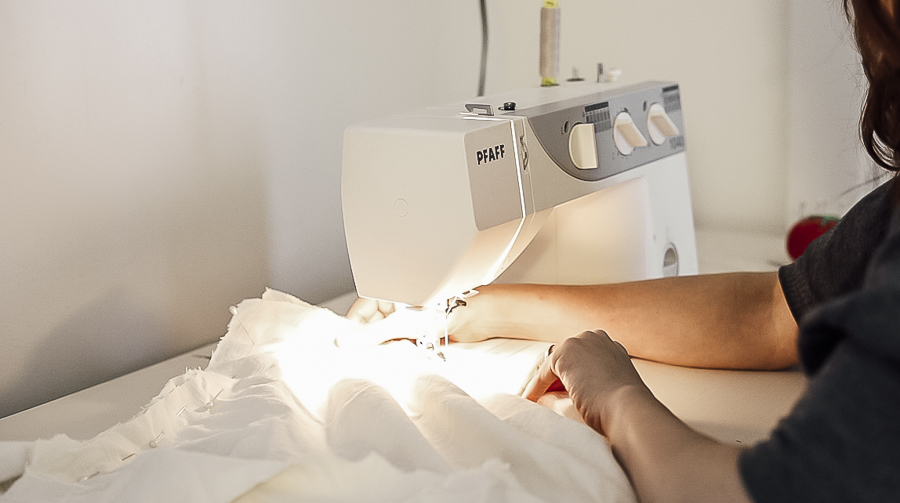
Use a zipper foot to sew along the chair arm “face” where the piping is to get your seam closer and tighter against the piping.
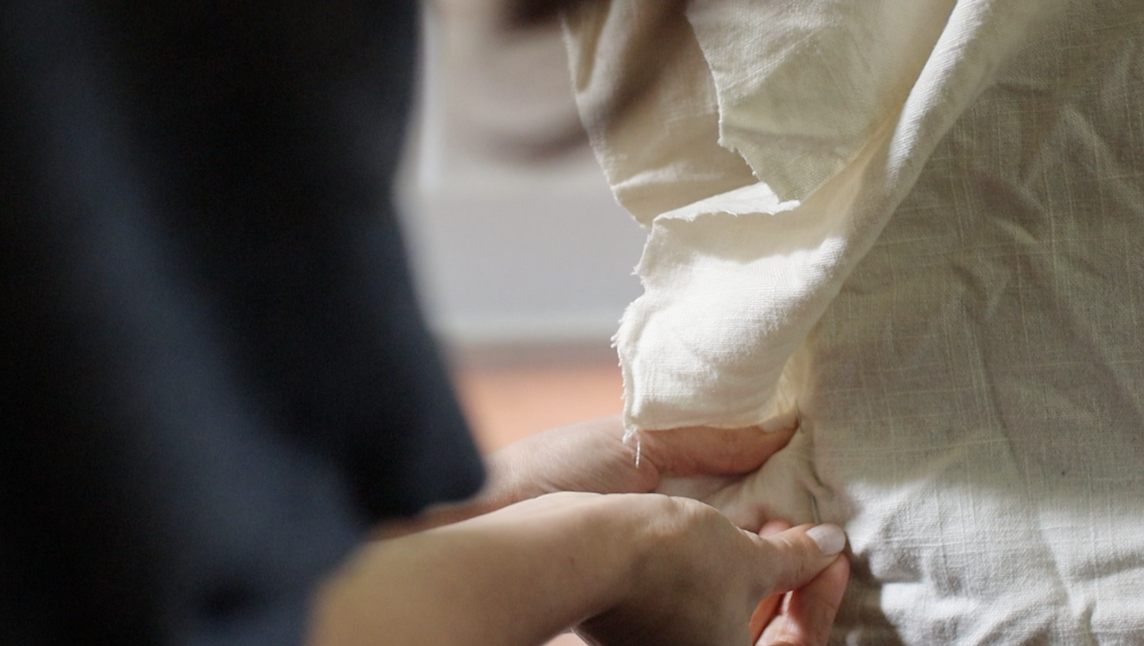
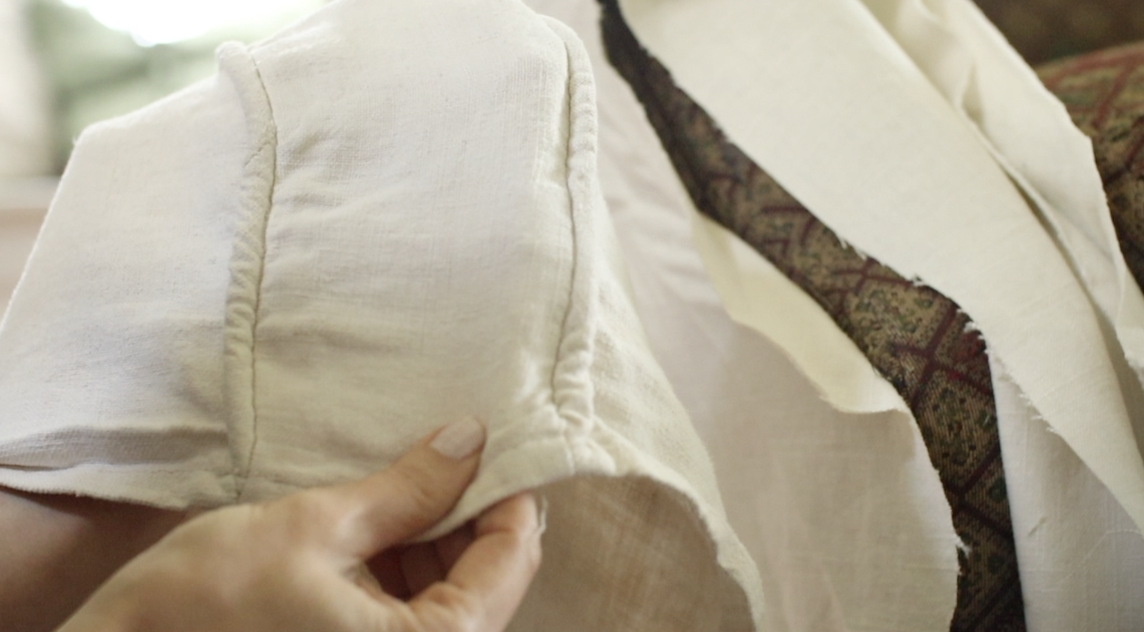
Step Six | Fit it back onto the chair and Finish the Bottom Edge.
Turn the piece right-side-out and fit it over the opposite chair arm.
Use your pins to create a line about 1/2″ below the bottom edge of the chair. This will be your finished length. Cut about 1″ below this pin line.

Fold your material in 1/2″, then another 1/2″ and iron to create a nice hem.
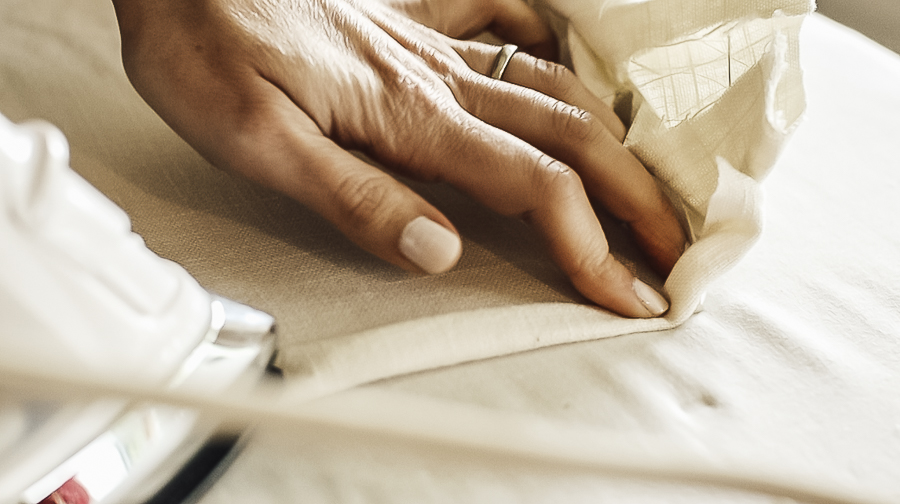
Sew the folded section down and put your completed slip cover back onto your chair arm.
Then you’ve done it! You’ve made your own slipcover with piping!
Note: I chose to leave the full 1″ seam allowance inside my slipcovers to help give them some durability while being washed. On my old set of slipcovers, I trimmed the seam allowance down, and upon washing it was creating weak spots at the seams as the material frayed. If you have a serger/overlock machine, you could serge this raw edge down to something closer to a 1/4″-1/2″ seam allowance if you desired.
I hope this inspires you and answers any questions you may have! I can’t wait to see what you make, and I’d love it if you’d share it with me on Instagram by tagging your picture #sheholdsdearlyinspired .
Pin this for Later | Slipcovers with Piping
Welcome to
SHE HOLDS DEARLY
Categories
All Posts
Handcrafted
Room tours
SECOND HAND
Seasonal Decor
Design lessons
Subscribe


